Garlic (Allium sativum) is not only a flavorful and aromatic culinary staple but also a highly nutritious plant that has been revered for its medicinal properties for centuries. Growing garlic at home can be a rewarding endeavor for beginners and experienced gardeners alike. This ultimate guide will walk you through the step-by-step process of cultivating your garlic, including essential tips for a bountiful harvest, common problems to watch out for, and answers to frequently asked questions.
Why Grow Garlic?
Before we dive into the details of growing garlic, let’s explore why you should consider cultivating them at home:
Latest Posts
- With Just 1 Bottle of Water How I Was Shocked by What Happened When Growing Vegetables
- Maximize Your Home Garden with the Hanging Pea Sprout Growing Model – Space-Saving, High-Yield, and Easy-to-Manage Vertical Gardening Solution
- Just Water – The Secret to Growing Plump, White Peanut Sprouts Right at Home: A Step-by-Step Guide for Beginners
- Growing Zucchini at Home in a Container: How to Cultivate Large, Long Fruits with a 1-to-72 Day Step-by-Step Diary for Maximum Yield
- Grow Long Beans on the Terrace in Used Recycling Baskets: The Ultimate Guide to Easy, Space-Saving, and High-Yield Terrace Gardening
- How to Grow Tons of Long Beans Easily Without a Garden – A Complete Guide to Growing Healthy Yardlong Beans Without Fertilizers or Pesticides
- Easy Long Bean Growing Trick – No Garden, No Fertilizer, No Pesticide
- Grow Bitter Melon in Bottles — Harvest So Big You Can’t Eat It All! The Ultimate Guide to Bottle Gardening for Maximum Yields
- Growing Garlic Made Easy: No Soil, Fast Results – The Ultimate Guide to Growing Fresh Garlic Indoors Without Traditional Soil
- Wall-Mounted Hydroponic Watermelon System: Grow Large, Juicy, and Delicious Watermelons at Home with Minimal Space and Maximum Yield
-
Health Benefits: Garlic is known for its medicinal properties, which include boosting the immune system, reducing blood pressure, and possessing antimicrobial properties.
-
Culinary Uses: It adds robust flavor to a variety of dishes, from marinades to sauces, making it an essential ingredient in many kitchens.
-
Easy to Grow: Garlic is relatively low-maintenance, making it ideal for beginners. It can be grown in small spaces and requires minimal care.
-
Saves Money: Growing your own garlic saves you money, especially considering how expensive high-quality garlic can be at the store.
-
Varietal Diversity: You can experiment with different types of garlic, such as hardneck, softneck, or elephant garlic, each offering unique flavors and uses.
Step-by-Step Instructions for Growing Garlic
Step 1: Choose the Right Garlic Variety
The first step in growing garlic is selecting the right variety. Garlic is primarily categorized into two types:
-
Hardneck Garlic: Known for its robust flavor and ability to withstand cold temperatures, hardneck garlic varieties produce a flowering stalk called a scape, which can also be harvested and eaten.
-
Softneck Garlic: This type is more commonly found in grocery stores and produces small cloves arranged in layers. Softneck varieties are better suited for warmer climates and have a longer shelf life.

Recommended Varieties
- Hardneck: ‘Music’, ‘Purple Stripe’, and ‘Rocambole’
- Softneck: ‘California Early’, ‘Silverskin’, and ‘Artichoke’
Step 2: Preparing Your Soil
Garlic thrives in well-drained, sandy loam or loamy soil that is rich in organic matter. Here’s how to prepare the ideal soil environment for your garlic:
-
Location: Choose a sunny spot that receives at least 6-8 hours of sunlight daily.
-
Soil Testing: Conduct a soil test to check pH levels; optimal garlic growth occurs between 6.0 and 7.5 pH.
-
Amend the Soil: Add organic matter, such as compost or well-rotted manure, to improve soil fertility and drainage.
-
Tillage: Loosen the soil to a depth of 12 inches and break up any large clumps.
Step 3: Planting Garlic
When to Plant

Garlic is typically planted in the fall, 4-6 weeks before the ground freezes. In warmer climates, it can also be planted in early spring.
Planting Process
-
Select Cloves: Choose healthy, unblemished cloves from your selected variety. Avoid using garlic from grocery stores, as they may be treated with growth inhibitors.
-
Separate Cloves: Gently separate the cloves from the bulb, keeping the papery skins intact.
-
Planting Depth: Plant cloves 2 inches deep with the pointed end facing up.
-
Spacing: Space the cloves 6-8 inches apart in rows that are 12-18 inches apart.
-
Watering: Water the area thoroughly after planting but avoid overwatering. Garlic should not sit in waterlogged soil.
Step 4: Care and Maintenance
Watering
Garlic needs consistent moisture, especially during its growing phase. However, it is crucial to avoid waterlogging. Water the garlic bed when the top inch of soil feels dry, tapering off just before harvest.
Fertilizing
Using a slow-release, balanced fertilizer can help promote healthy growth. A nitrogen-rich fertilizer is ideal in early spring, while a phosphorus-rich fertilizer can support bulb development as the cloves mature.
Step 5: Mulching

Applying a layer of mulch (straw, grass clippings, or leaves) around the garlic plants helps:
- Retain soil moisture
- Suppress weeds
- Regulate soil temperature
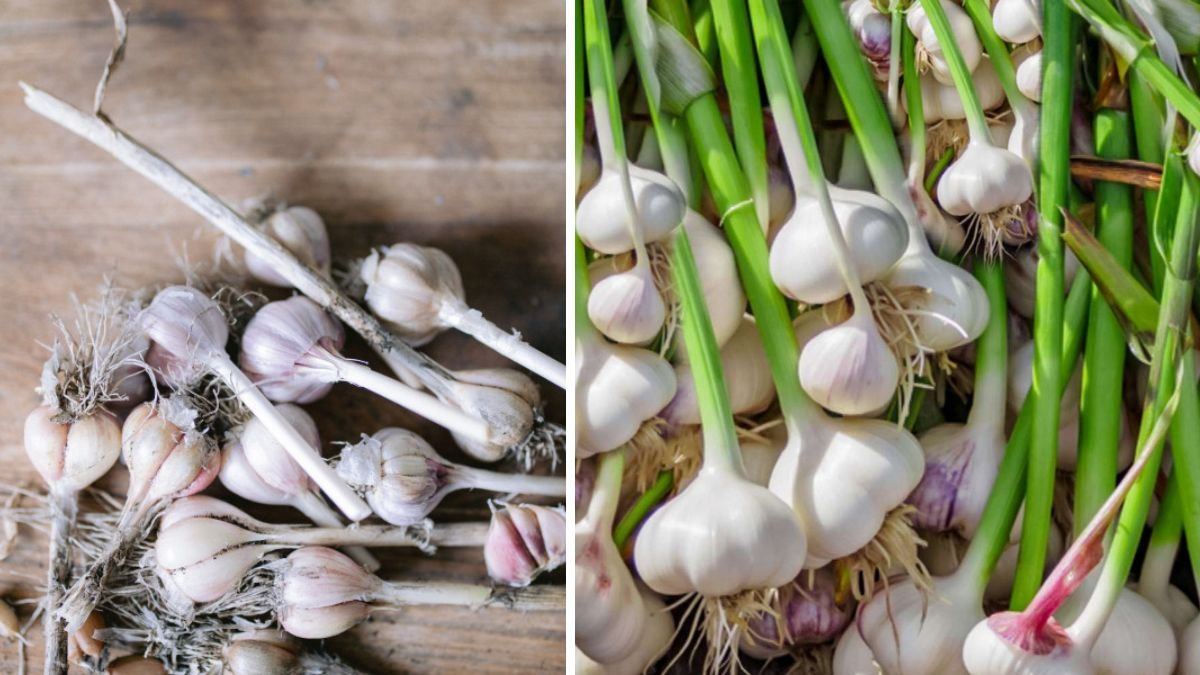
Step 6: Harvesting Garlic
Signs of Maturity
Garlic is typically ready for harvest in late spring to early summer, depending on the variety and planting time. Signs to look for include:
- Yellowing leaves
- Lower leaves dying back
- The tops of the plants starting to flop over
Harvesting Process
- Timing: Harvest when 1/3 of the leaves have turned brown or yellow.
- Method: Use a garden fork or shovel to gently lift the bulbs from the soil. Avoid pulling them by the tops to prevent damage.
- Curing: Spread the harvested bulbs in a single layer in a cool, dark, and well-ventilated area. Allow them to cure for 2-4 weeks.
Step 7: Storing Garlic
Once cured, garlic can be stored for several months. Follow these tips:

- Remove Dead Leaves: Trim the roots and dead leaves, leaving a 1-inch stem.
- Store in a Cool Place: Keep garlic in a cool, dark, and dry place with good airflow. Avoid refrigeration.
- Check for Mold: Regularly check for signs of rot or mold and remove any affected bulbs.
Common Problems in Garlic Cultivation
Pests
-
Garlic Bulb Mites: Small mites that can cause damage to the bulb. Use insecticidal soap to control them.
-
Onion Maggots: These can affect garlic in the spring. Crop rotation and careful planting can help prevent infestations.
Diseases
-
White Rot: This fungal disease can devastate garlic plants. It can be recognized by white fungal growth at the base of the plant. To avoid it, plant disease-free bulbs and practice crop rotation.
-
Downy Mildew: Characterized by yellowing leaves, this can be prevented by ensuring adequate air circulation and avoiding overhead watering.
FAQs
1. Can I grow garlic in containers?
Yes, garlic can be grown in containers as long as there’s adequate space (at least 6-8 inches deep) and good drainage.
2. How long does garlic take to grow?

Garlic typically takes about 6-8 months to mature after planting.
3. Can garlic be grown in tropical climates?
While garlic prefers temperate climates, you can still grow it in tropical regions with proper care. Opt for softneck varieties and plant them during the cooler months.
4. Is it necessary to cut garlic scapes?
Cutting garlic scapes (the flower stalks of hardneck varieties) encourages the plant to focus energy on bulb development, leading to bigger bulbs. However, they are also delicious and can be used in cooking.
5. What should I do if my garlic is sprouting in storage?
Garlic that starts sprouting can still be used for culinary purposes. Simply plant the sprouted cloves in the garden or use them immediately in your recipes.
6. Can garlic be harvested earlier for greens?
Yes, if you need garlic greens (young shoots), you can harvest them early before the bulbs have matured. They can be used as a flavorful addition to various dishes.
Conclusion
Growing garlic at home can be a fulfilling and productive experience. By following the steps outlined in this guide, you’ll be well on your way to enjoying your own homegrown garlic, reaping its numerous health benefits and adding fresh flavor to your meals. With a little patience and care, you’ll be able to harvest a bountiful crop and enjoy the fruits of your labor for months to come. Happy gardening!