Removing a tree stump can be one of the most challenging tasks in garden maintenance. Stumps are not only unsightly but can also attract pests, interfere with mowing, and occupy valuable space in your yard. While traditional methods like digging or grinding can be labor-intensive, there are non-invasive techniques that make stump removal easier and less disruptive to your landscape.
Experts in arboriculture and gardening emphasize that choosing a method that avoids unnecessary damage to the surrounding area—especially roots, soil, and nearby plants—ensures a cleaner, safer, and more efficient process. This guide explores the most effective non-invasive method to tackle tree stumps, along with practical tips and precautions.
Why Removing Tree Stumps Matters
Tree stumps aren’t just an eyesore—they can pose multiple challenges:
- Pest attraction: Decaying stumps may harbor termites, beetles, or ants that could spread to other parts of your yard.
- Interference with landscaping: Stumps can prevent planting new trees, shrubs, or grass in the same area.
- Safety hazards: Stumps can cause tripping, especially in areas with children or frequent foot traffic.
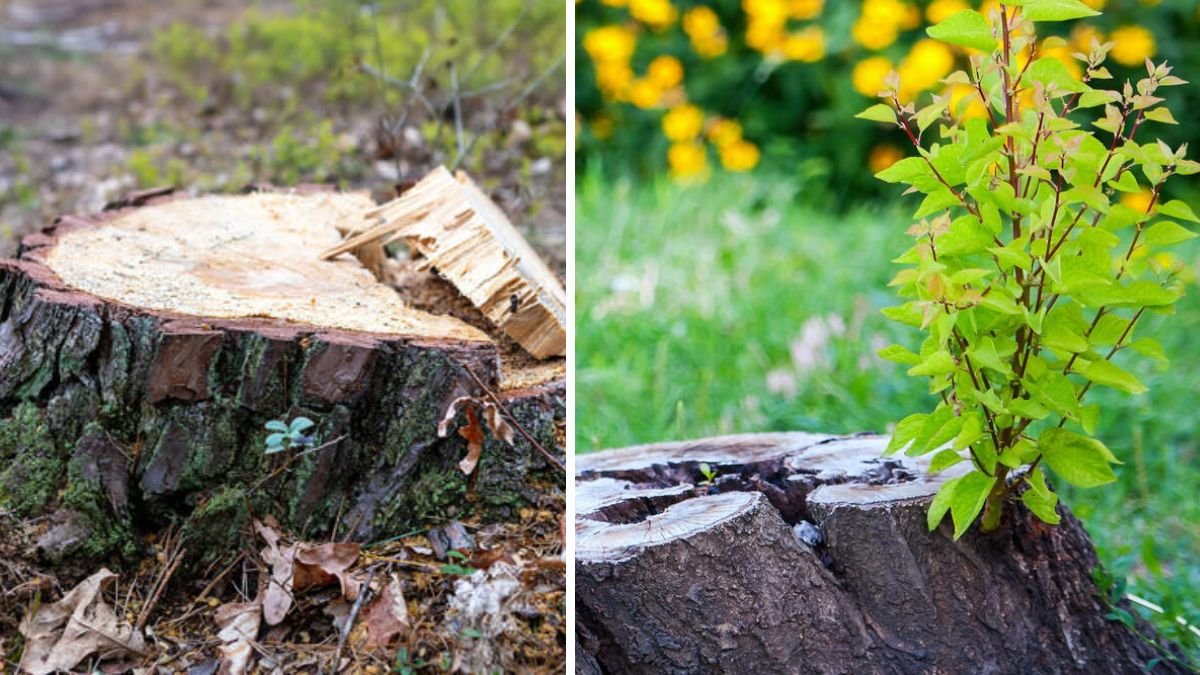
- Resprouting: Some tree species can sprout new shoots from the stump if not fully removed.
Experts stress that removing a stump not only improves aesthetics but also maintains a healthier and safer garden.

The Non-Invasive Stump Removal Method
The most recommended non-invasive approach is chemical or natural decomposition, which accelerates the natural decay of the stump without heavy digging or mechanical grinding. This method preserves the surrounding soil and minimizes physical labor.
Latest Posts
- With Just 1 Bottle of Water How I Was Shocked by What Happened When Growing Vegetables
- Maximize Your Home Garden with the Hanging Pea Sprout Growing Model – Space-Saving, High-Yield, and Easy-to-Manage Vertical Gardening Solution
- Just Water – The Secret to Growing Plump, White Peanut Sprouts Right at Home: A Step-by-Step Guide for Beginners
- Growing Zucchini at Home in a Container: How to Cultivate Large, Long Fruits with a 1-to-72 Day Step-by-Step Diary for Maximum Yield
- Grow Long Beans on the Terrace in Used Recycling Baskets: The Ultimate Guide to Easy, Space-Saving, and High-Yield Terrace Gardening
- How to Grow Tons of Long Beans Easily Without a Garden – A Complete Guide to Growing Healthy Yardlong Beans Without Fertilizers or Pesticides
- Easy Long Bean Growing Trick – No Garden, No Fertilizer, No Pesticide
- Grow Bitter Melon in Bottles — Harvest So Big You Can’t Eat It All! The Ultimate Guide to Bottle Gardening for Maximum Yields
- Growing Garlic Made Easy: No Soil, Fast Results – The Ultimate Guide to Growing Fresh Garlic Indoors Without Traditional Soil
- Wall-Mounted Hydroponic Watermelon System: Grow Large, Juicy, and Delicious Watermelons at Home with Minimal Space and Maximum Yield
Step 1: Choose Your Stump Treatment
- Commercial stump removers: These products contain potassium nitrate or similar compounds that accelerate decomposition. They are widely available at garden centers and are effective for most hardwood and softwood stumps.
- Natural alternatives: For a chemical-free option, a combination of nitrogen-rich fertilizers, compost, and organic mulch can speed up the breakdown process over time. Some gardeners also use Epsom salts or rock salt to help dry out the stump and promote decay.
Experts highlight that chemical products work faster, but natural methods are safer for surrounding plants and pets.
Step 2: Drill Holes into the Stump
- Use a power drill with a large bit (1/2 inch to 1 inch) to drill multiple holes into the top and sides of the stump.
- Drill to a depth of 6–12 inches depending on the size of the stump.
- Space the holes evenly to ensure the decomposition agent reaches the core of the stump.
This step allows the chemical or natural agent to penetrate the stump deeply, accelerating decay and making the wood easier to break down. Experts advise wearing gloves and eye protection when drilling.
Step 3: Apply the Decomposition Agent
- Fill the drilled holes with the chosen chemical or natural agent.
- For commercial products, follow the manufacturer’s instructions carefully.
- For natural methods, pour a generous amount of nitrogen-rich fertilizer, Epsom salts, or compost into the holes.
Experts note that the goal is to saturate the stump’s interior without spilling onto surrounding plants or soil, which could affect other vegetation.

Step 4: Promote Moisture and Coverage
- Cover the stump with a tarp, mulch, or soil to retain moisture, which helps accelerate decay.
- Water the stump occasionally to keep it damp, but not soaking wet.
Moisture encourages microbial activity that breaks down the wood fibers, allowing the stump to soften over time. Experts say that maintaining consistent moisture is key to speeding up the process.
Step 5: Wait and Monitor
- Stumps treated chemically usually take a few weeks to a few months to soften significantly.
- Natural methods may require several months to a year, depending on the tree species and stump size.
- Check periodically by poking or gently trying to break the stump.
Patience is essential. Experts emphasize that rushing this process with digging or heavy tools defeats the purpose of the non-invasive approach.
Step 6: Remove the Softened Stump
Once the stump is soft and partially decomposed:
- Use an axe, mattock, or shovel to break apart the remaining wood.
- Pull out the pieces carefully, keeping the surrounding soil intact.
- Fill the hole with soil or compost and level it with the surrounding ground.
Experts recommend using minimal force to preserve soil structure, which is especially important if you plan to plant new grass, flowers, or trees in the same spot.

Advantages of the Non-Invasive Method
- Preserves surrounding landscape: Roots and nearby plants remain undisturbed.
- Less labor-intensive: No heavy digging or grinding required.
- Cost-effective: Reduces the need for expensive stump grinders or removal services.
- Environmentally friendly: Natural decomposition methods avoid harsh mechanical disruption and reduce soil erosion.
- Safer for property: Minimizes risk of damaging underground utilities or hardscaping.
Experts highlight that this method is ideal for homeowners who want to maintain a clean, safe yard without aggressive excavation.
Additional Tips for Success
- Choose the right season: Early spring or fall is ideal for stump treatment because moisture levels and microbial activity are higher.
- Consider size: Very large stumps may take longer to decompose; combining chemical treatment with small mechanical removal can accelerate the process.
- Monitor for pests: Keep an eye on insect activity and take action if needed to prevent infestation from spreading.
- Plan for planting: Once the stump is removed and the area is refilled with soil, allow the soil to settle for a few weeks before planting new vegetation.
Experts emphasize that proper planning ensures a smooth transition from stump removal to new plantings without compromising soil health.
Mistakes to Avoid
- Skipping hole drilling: Chemicals or natural agents won’t penetrate effectively without drilling.
- Using too much chemical: Overuse can harm surrounding plants and soil.
- Neglecting moisture: Dry stumps decay much more slowly.
- Forcing removal too early: Pulling a hard stump before it softens can damage surrounding soil.
- Ignoring safety: Even soft wood can be tough; use gloves and tools carefully to avoid injury.
Following expert advice helps ensure the process is safe, efficient, and environmentally friendly.
Alternative Non-Invasive Options
- Epsom salt soak: Drill holes and pour Epsom salts, covering the stump and keeping it moist.
- Compost acceleration: Combine layers of nitrogen-rich compost with mulch to naturally break down the wood over time.
- Natural fungi introduction: Some gardeners use wood-decay fungi to speed decomposition, although this is less common.
Experts recommend choosing a method that aligns with your patience, timeline, and environmental considerations.

Final Thoughts
Removing a tree stump doesn’t have to be a back-breaking chore or an expensive project. By using a non-invasive method that accelerates natural decomposition, you can soften and remove stumps efficiently while preserving the surrounding landscape.
Experts emphasize the importance of proper preparation—drilling holes, applying the right decomposition agents, maintaining moisture, and allowing adequate time for the stump to break down. Once softened, the remaining stump can be removed with minimal effort, leaving space for new plants, a lawn, or other garden features.
Using this approach, homeowners can achieve a cleaner, safer, and more attractive yard while minimizing labor, cost, and disruption. With patience and careful planning, even the largest stumps can be removed efficiently and effectively, creating room for a thriving garden or landscape.
