Spider plants (Chlorophytum comosum) are among the easiest and most rewarding houseplants to grow. Known for their arching green leaves with white stripes and their tiny “spiderettes” or baby plants, spider plants are not only visually appealing but also help purify indoor air. Despite their hardy nature, repotting them correctly is essential for long-term health and year-round growth.
Experts emphasize that proper repotting prevents root-bound issues, encourages new growth, and ensures your spider plant remains lush and vibrant. This guide covers everything you need to know to repot a spider plant successfully, including timing, soil selection, container choice, and aftercare.
Signs Your Spider Plant Needs Repotting
While spider plants are resilient, they eventually outgrow their pots. Key signs that it’s time to repot include:
- Roots growing out of the drainage holes: This indicates the plant is root-bound and needs more space.
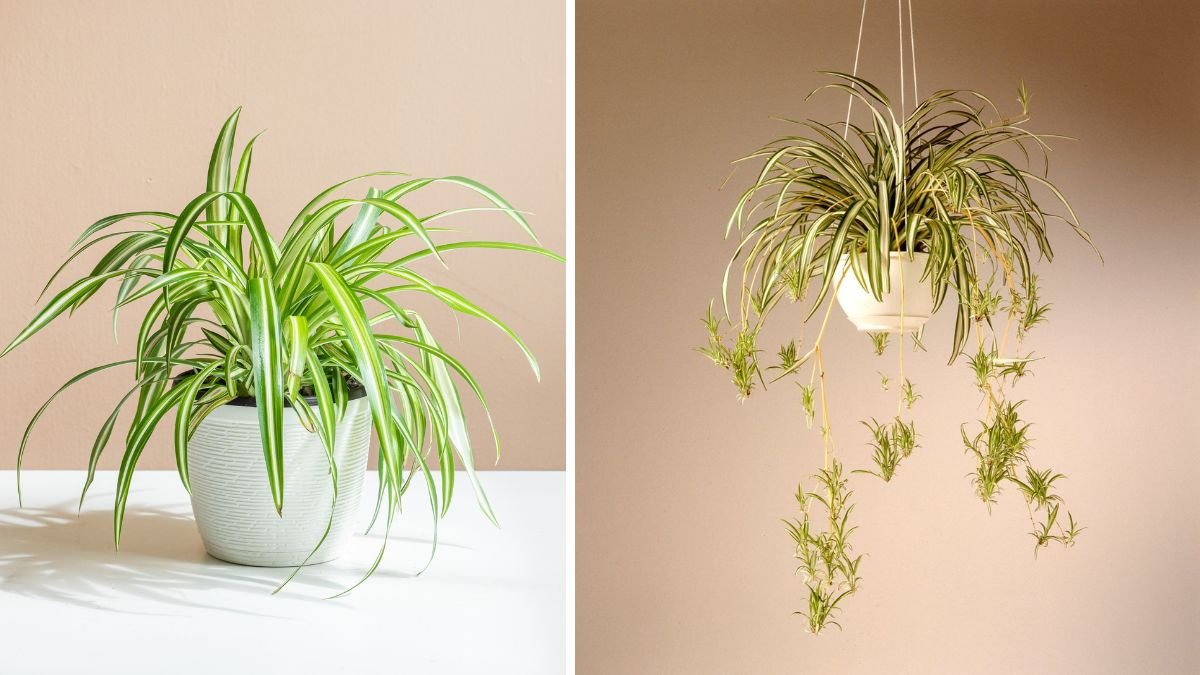
- Crowded spiderettes: If baby plants are abundant and the main plant appears cramped, it’s time to expand.
- Slowed growth or yellowing leaves: Root stress from overcrowding can reduce overall vigor.
- Water drains too quickly: If the soil dries out almost immediately after watering, the plant may be using all available soil space for roots.
Experts recommend checking the root system annually, as spider plants tend to grow quickly in spring and summer.

Choosing the Right Container
The pot you select has a direct impact on your spider plant’s health:
Latest Posts
- With Just 1 Bottle of Water How I Was Shocked by What Happened When Growing Vegetables
- Maximize Your Home Garden with the Hanging Pea Sprout Growing Model – Space-Saving, High-Yield, and Easy-to-Manage Vertical Gardening Solution
- Just Water – The Secret to Growing Plump, White Peanut Sprouts Right at Home: A Step-by-Step Guide for Beginners
- Growing Zucchini at Home in a Container: How to Cultivate Large, Long Fruits with a 1-to-72 Day Step-by-Step Diary for Maximum Yield
- Grow Long Beans on the Terrace in Used Recycling Baskets: The Ultimate Guide to Easy, Space-Saving, and High-Yield Terrace Gardening
- How to Grow Tons of Long Beans Easily Without a Garden – A Complete Guide to Growing Healthy Yardlong Beans Without Fertilizers or Pesticides
- Easy Long Bean Growing Trick – No Garden, No Fertilizer, No Pesticide
- Grow Bitter Melon in Bottles — Harvest So Big You Can’t Eat It All! The Ultimate Guide to Bottle Gardening for Maximum Yields
- Growing Garlic Made Easy: No Soil, Fast Results – The Ultimate Guide to Growing Fresh Garlic Indoors Without Traditional Soil
- Wall-Mounted Hydroponic Watermelon System: Grow Large, Juicy, and Delicious Watermelons at Home with Minimal Space and Maximum Yield
- Size: Choose a container 1–2 inches larger in diameter than the current pot. Too large a pot can lead to water retention and root rot.
- Material: Terracotta, ceramic, or plastic pots all work. Terracotta is porous and helps prevent overwatering, while plastic retains moisture longer.
- Drainage: Ensure the pot has holes at the bottom to allow excess water to escape. Proper drainage is essential for preventing root rot.
Experts suggest avoiding overly deep pots, as spider plants have relatively shallow root systems that grow more horizontally than vertically.
Selecting the Right Soil
Spider plants prefer a well-draining, nutrient-rich soil:
- Potting mix: A high-quality all-purpose houseplant mix works well. Add perlite or sand to improve drainage.
- pH preference: Slightly acidic to neutral soil (pH 6.0–7.0) supports optimal nutrient uptake.
- Optional amendments: Organic compost can provide long-term nutrients, but avoid heavy soils that compact easily.
Experts highlight that loose, airy soil encourages healthy root growth and allows the plant to establish quickly in its new home.

Best Time to Repot
Timing affects how well your spider plant adapts to a new pot:
- Spring and early summer: This is the ideal period because the plant is entering its active growth phase.
- Avoid winter: Growth slows in colder months, making the plant less resilient to repotting stress.
Repotting in spring allows the plant to recover faster, produce new leaves, and continue developing spiderettes throughout the growing season.
Step-by-Step Repotting Guide
- Prepare your workspace: Lay down newspaper or a plastic sheet to catch soil spills. Gather your new pot, potting mix, and scissors or pruning shears.
- Remove the plant: Gently lift the spider plant from its current container. Loosen the roots by gently teasing apart the root ball.
- Inspect roots: Trim any brown, damaged, or rotting roots. Healthy roots should be white or light tan and firm.
- Add soil to new pot: Fill the bottom of the new container with a layer of fresh potting mix.
- Position the plant: Place the spider plant in the center, ensuring the crown (where leaves meet roots) is level with the soil surface.
- Fill around the roots: Add soil evenly around the root ball, lightly pressing to remove air pockets but avoid compacting.
- Water thoroughly: Water until it drains from the bottom. This helps settle the soil and ensures good root-to-soil contact.
Experts note that handling the plant gently and avoiding burying the crown prevents stress and reduces the risk of rot.
Aftercare Tips
Proper care post-repotting ensures a smooth transition:

- Light: Place the plant in bright, indirect light. Avoid direct sun immediately after repotting, as it may stress the leaves.
- Watering: Keep the soil slightly moist but avoid overwatering for the first week. Spider plants may need less water immediately after being repotted.
- Humidity: Average indoor humidity is sufficient, but occasional misting can help reduce transplant shock.
- Fertilizing: Wait 4–6 weeks before adding fertilizer to allow roots to settle. Then use a balanced, water-soluble fertilizer every 4–6 weeks during the growing season.
Experts emphasize patience: spider plants may show slowed growth initially, but new leaves and spiderettes usually emerge within a few weeks.
Managing Spiderettes
One of the charms of spider plants is their ability to produce small offshoots, or spiderettes. Repotting is also a good opportunity to manage them:
- Propagation: Remove spiderettes and place them in water or soil to grow new plants.
- Control overcrowding: Leaving too many spiderettes attached can stress the main plant. Experts recommend removing a few while repotting to maintain balance.
- Replanting: Spiderettes can be repotted separately once they develop small roots, creating additional plants for your home or to gift.
Managing spiderettes ensures both the parent plant and offshoots thrive without competition for nutrients.
Common Mistakes to Avoid
- Using a pot that is too large: Excess soil can hold water and increase root rot risk.
- Overwatering immediately after repotting: Newly disturbed roots are more susceptible to rot.
- Burying the crown: Covering the base of leaves with soil can cause stem rot.
- Repotting at the wrong time: Avoid late fall or winter when growth is slow.
- Neglecting root inspection: Failing to trim damaged roots can allow disease to spread.
Experts stress that avoiding these mistakes ensures your spider plant transitions smoothly and remains vibrant all year.

Benefits of Proper Repotting
- Encourages new growth: Fresh soil provides nutrients that support leaf and root development.
- Prevents root-bound stress: Expanding the pot allows roots to grow freely, improving overall health.
- Supports flowering and propagation: Healthy plants produce more spiderettes and may flower indoors under the right conditions.
- Maintains aesthetics: Repotting keeps plants looking full and attractive rather than scraggly or cramped.
Repotting isn’t just maintenance—it’s a way to revitalize your spider plant for years of healthy growth.
Final Thoughts
Repotting a spider plant is a simple yet essential task for ensuring its health and vibrancy all year long. Experts emphasize checking for root-bound conditions, choosing the right soil and container, repotting at the optimal time, and providing gentle aftercare.
With proper repotting, spider plants continue to produce lush foliage, abundant spiderettes, and even occasional blooms. By following these guidelines, your spider plant can thrive for years, providing greenery, air-purifying benefits, and a touch of natural beauty in your home.
A well-cared-for spider plant is more than just a decorative houseplant—it’s a resilient, enduring companion that brings life and freshness to any indoor space.
