Homemade juices are not only a tasty way to incorporate fruits and vegetables into your diet, but they also present a fascinating opportunity to explore the art and science of fermentation. Early fermentation can enhance the flavors, textures, and health benefits of your juices, making them unique and beneficial additions to your dietary repertoire. In this article, we will delve into the fermentation process, the benefits of fermented juices, and the steps involved in creating your own fermented homemade juices.
1. What is Fermentation?
Fermentation is a natural metabolic process wherein microorganisms such as yeast and bacteria convert sugars into various byproducts, including alcohol, gases, and acids. This process occurs in anaerobic conditions, where oxygen is limited or absent. Fermentation plays a crucial role in food preservation and flavor enhancement, historically used for centuries across cultures to extend the shelf life of perishable ingredients.
Latest Posts
- With Just 1 Bottle of Water How I Was Shocked by What Happened When Growing Vegetables
- Maximize Your Home Garden with the Hanging Pea Sprout Growing Model – Space-Saving, High-Yield, and Easy-to-Manage Vertical Gardening Solution
- Just Water – The Secret to Growing Plump, White Peanut Sprouts Right at Home: A Step-by-Step Guide for Beginners
- Growing Zucchini at Home in a Container: How to Cultivate Large, Long Fruits with a 1-to-72 Day Step-by-Step Diary for Maximum Yield
- Grow Long Beans on the Terrace in Used Recycling Baskets: The Ultimate Guide to Easy, Space-Saving, and High-Yield Terrace Gardening
- How to Grow Tons of Long Beans Easily Without a Garden – A Complete Guide to Growing Healthy Yardlong Beans Without Fertilizers or Pesticides
- Easy Long Bean Growing Trick – No Garden, No Fertilizer, No Pesticide
- Grow Bitter Melon in Bottles — Harvest So Big You Can’t Eat It All! The Ultimate Guide to Bottle Gardening for Maximum Yields
- Growing Garlic Made Easy: No Soil, Fast Results – The Ultimate Guide to Growing Fresh Garlic Indoors Without Traditional Soil
- Wall-Mounted Hydroponic Watermelon System: Grow Large, Juicy, and Delicious Watermelons at Home with Minimal Space and Maximum Yield
Types of Fermentation
There are two primary types of fermentation relevant to homemade juices:
-
Alcoholic Fermentation: Involves yeasts converting sugars into ethanol and carbon dioxide. This is typically seen in alcoholic beverages but can also occur with certain fruit juices.
-
Lactic Acid Fermentation: Involves lactic acid bacteria converting sugars into lactic acid, leading to the sourness commonly found in fermented foods like sauerkraut and yogurt. This type of fermentation is crucial for creating tangy flavors in juices.
2. Benefits of Fermented Juices
Fermented juices offer several advantages that go beyond their delightful tanginess and unique flavor profiles.
Nutritional Enhancements

-
Probiotics: The fermentation process introduces beneficial bacteria that can aid in digestion and promote gut health. This can be particularly beneficial for individuals with digestive issues or those looking to improve their overall gut microbiome.
-
Enhanced Nutrient Bioavailability: Fermentation can break down certain compounds in fruits and vegetables, making it easier for your body to absorb key nutrients. For instance, fermentation may enhance the bioavailability of vitamins and minerals, such as B vitamins and iron.
-
Reduced Sugar Content: During fermentation, sugars are converted into acids, which can result in a lower sugar content in the final product, making it more suitable for those monitoring their sugar intake.
Flavor Development
Fermentation introduces complex flavors and aromas that can elevate the taste profile of your homemade juices. The sourness from lactic acid can balance sweetness, creating a more rounded and satisfying beverage.
Preservation
Fermented juices have a longer shelf life compared to their non-fermented counterparts due to the acidity produced during fermentation, which inhibits the growth of harmful bacteria. This means you can enjoy your juices for a more extended period without the need for refrigeration.
3. Getting Started with Fermentation
Choosing Your Ingredients
Selecting the right fruits and vegetables is crucial for successful fermentation. Here are some commonly used ingredients:
-
Fruits: Apples, pears, berries, and citrus fruits are excellent choices. Their natural sugars promote fermentation.
-
Vegetables: Carrots, beets, and cucumbers are great options, often used in combination with fruits for added complexity.

The Importance of Cleanliness
Before starting the fermentation process, it’s vital to ensure that all equipment and ingredients are clean to prevent unwanted bacterial growth. Clean your utensils, containers, and surfaces with hot, soapy water, and rinse thoroughly. Sanitization is key in promoting the growth of beneficial fermenting organisms over harmful ones.
Tools and Equipment
You don’t need specialized equipment to start fermenting juices at home, but a few basic tools can make the process more manageable:
-
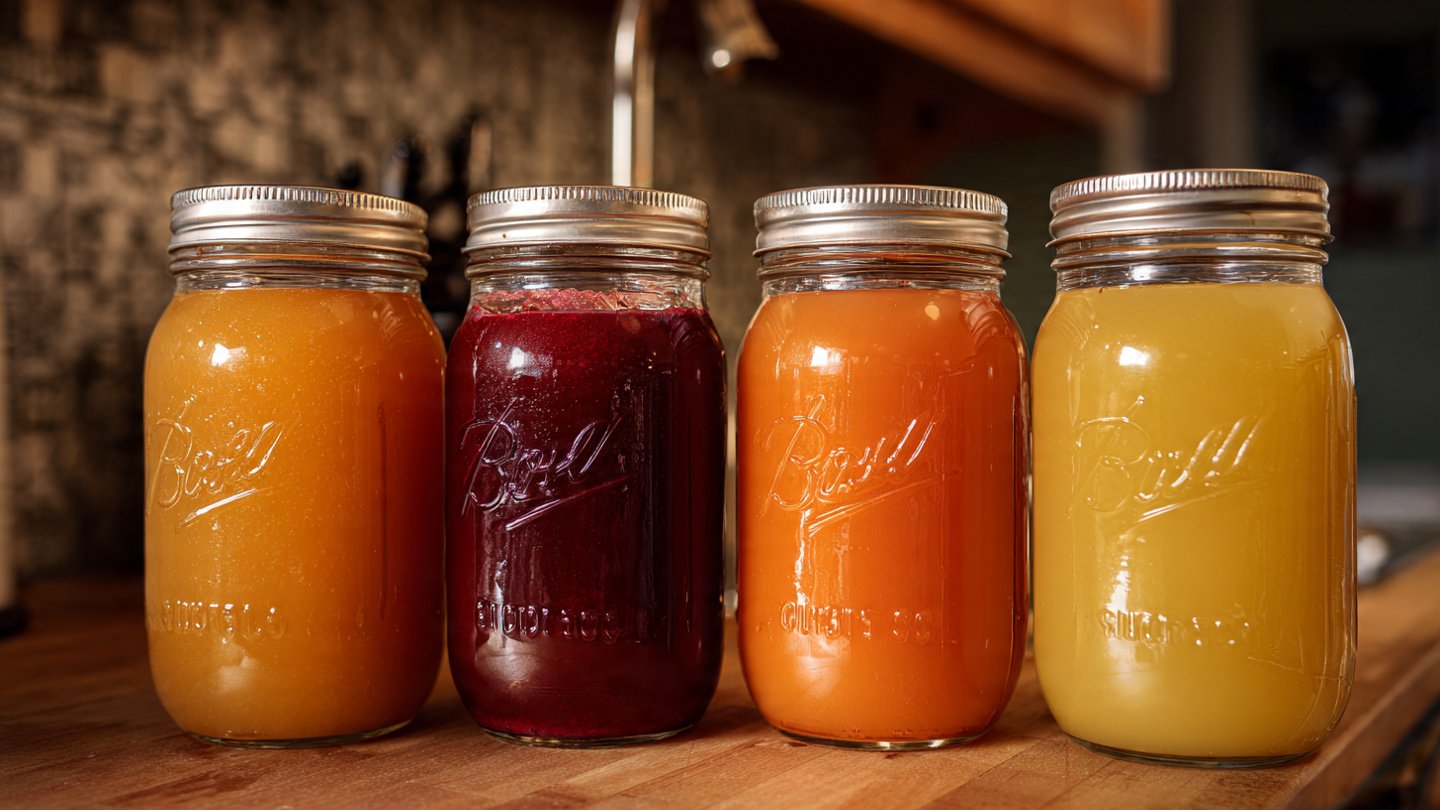
Glass Jars: Wide-mouth mason jars work well, allowing for easy mixing and cleaning. Use one large jar or several smaller ones depending on your batch size.
-
Airlocks: These can be beneficial in allowing gases to escape while preventing outside air from entering. However, they are not strictly necessary and can be substituted with a cloth cover secured with a rubber band.
-
Weights: If using solid ingredients (e.g., fruits or vegetables), you may need weights to keep them submerged in the juice.
4. The Fermentation Process

Step 1: Juicing
Start by preparing your fruits and vegetables. Wash them thoroughly, peel if necessary, and chop into smaller pieces to help with juicing. You can use a juice extractor or simply blend the ingredients and strain the juice through a cheesecloth or sieve.
Step 2: Preparing the Fermentation Mixture
Once you have your fresh juice, it’s time to prepare it for fermentation. Here’s how:
-
Natural Fermentation: If you opt for wild fermentation, pour the juice into a clean jar and add naturally occurring bacteria by including a small amount of pre-fermented juice or a few pieces of fruit with skins intact. This will introduce the necessary microorganisms for fermentation.
-
Cultured Fermentation: You can also use a commercial starter culture, like whey or a probiotic powder, to ensure a consistent and successful fermentation. Adding a tablespoon or two of raw apple cider vinegar is another method to kickstart the process.
-
Optional Ingredients: You can enhance flavor and nutrition by adding spices (ginger, turmeric, cinnamon) or herbs (mint, basil) at this stage.
Step 3: Fermenting
-
Covering the Jar: Seal the jar with a lid or cloth cover, ensuring a bit of air can get in if you’re not using an airlock. This allows carbon dioxide to escape while preventing contaminants.
-
Finding the Right Environment: Place the jar in a warm, dark area, ideally between 68°F to 75°F (20°C to 24°C). Fermentation can take anywhere from a few days to two weeks, depending on the temperature and desired flavor profile. A taste test after a few days can help you determine when it’s ready.

Step 4: Stopping the Fermentation
Once your juice has reached the desired flavor and effervescence, it’s time to stop the fermentation process. Move the jar to the refrigerator to slow down the activity of the microorganisms significantly. This also increases the longevity of your fermented juice, allowing you to enjoy it over several weeks.
Step 5: Bottling
Transfer your fermented juice into clean glass bottles, leaving some space at the top to account for any ongoing fermentation. If you’ve produced a very fizzy product and prefer less carbonation, you can open the bottles carefully to release built-up pressure before sealing.
5. Enjoying Your Fermented Juices
Consumption Tips:
-
Timing: Consume your fermented juices within 1-2 weeks after fermentation for the best flavor and probiotic content.
-
Serving Suggestions: Enjoy them straight, mix with water or sparkling water for a refreshing drink, or incorporate them into smoothies, salad dressings, or marinades.
-
Experimentation: Don’t hesitate to try different fruit and vegetable combinations or play with spices to develop your own unique flavors over time.
6. Common Challenges and Troubleshooting

While the fermentation process is typically straightforward, you may encounter some challenges. Here are a few common issues and solutions:
-
Floating Mold: If you notice any mold forming on the surface, it’s best to discard the juice, as this indicates contamination. Use a proper sealing technique and ensure that all tools and jars are sanitized.
-
Too Sour or Not Sour Enough: If your juice is too sour, reduce fermentation time; if it’s not sour enough, allow it to ferment longer. The flavor will achieve a perfect balance with practice.
-
Carbonation Control: If you notice excessively bubbly juices, consider reducing fermentation time or adding less sugar in future batches.
Conclusion
Understanding early fermentation in homemade juices not only elevates their flavors but also provides numerous health benefits. The art of fermenting at home is a rewarding process that connects you with the rich history of food preservation while also promoting better digestion and nutrient absorption. With basic ingredients, a little patience, and a willingness to experiment, you can create delicious and nutritious fermented juices that bring excitement to your daily nutrition.
Whether you’re a seasoned fermenter or a novice eager to try something new, embarking on the journey of making fermented juices offers endless possibilities. So gather your fruits and vegetables, embrace the science of fermentation, and enjoy a delightful, healthful addition to your culinary adventures. Happy fermenting!