Growing chillies at home is an exhilarating experience that yields delicious rewards! Whether you’re aiming to spice up your meals or enjoy some fresh produce, cultivating your own chillies can be a fulfilling endeavor. This comprehensive guide will walk you through the essential steps for beginners, from selecting optimal varieties to nurturing your plants. Plus, we’ll cover some frequently asked questions to help you troubleshoot common issues. Let’s dive in!
1. Understanding Chillies
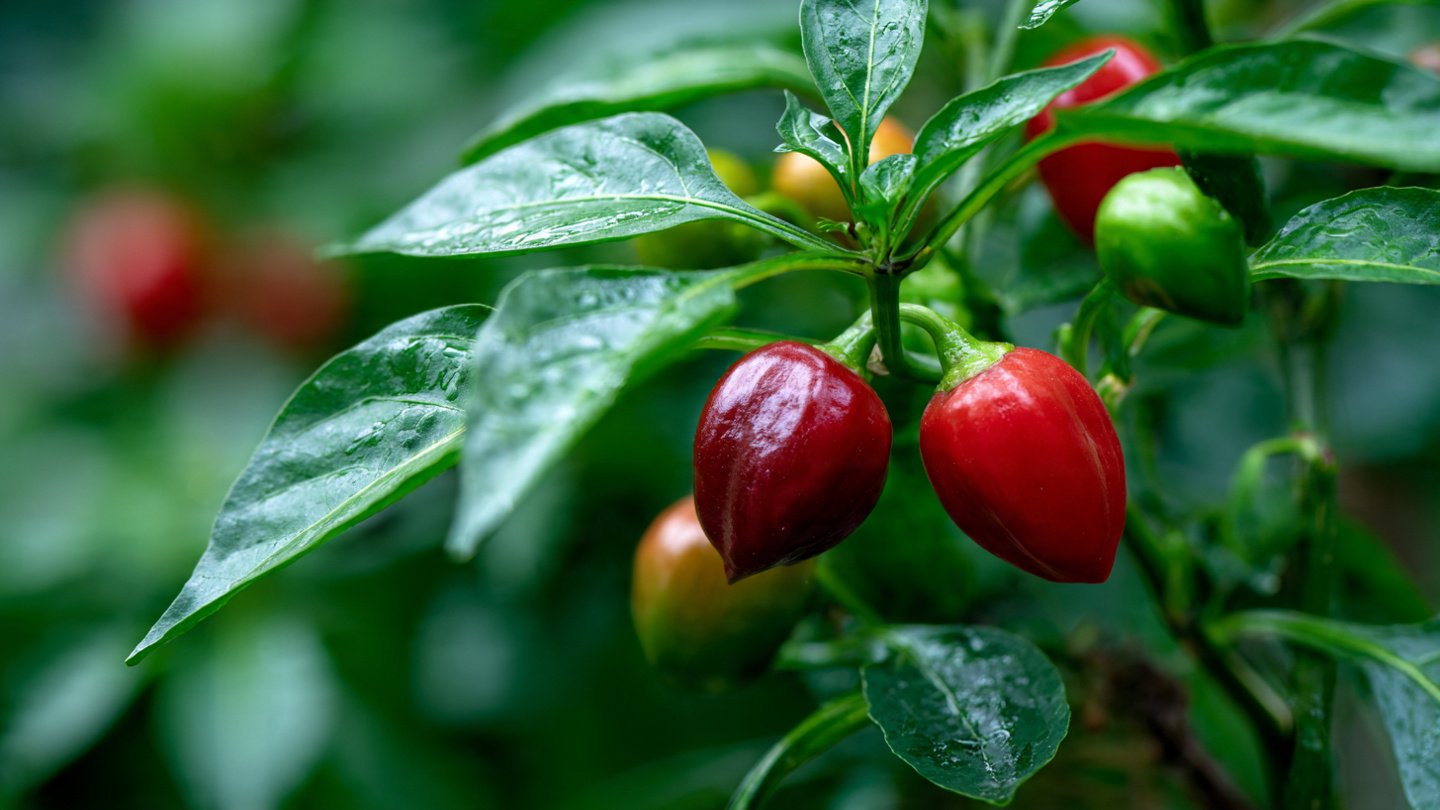
Chillies belong to the Capsicum genus and are used globally for their heat and flavor. They vary in size, shape, color, and heat levels, measured in Scoville Heat Units (SHU). The more capsaicin a chilli contains, the hotter it is.
Latest Posts
- With Just 1 Bottle of Water How I Was Shocked by What Happened When Growing Vegetables
- Maximize Your Home Garden with the Hanging Pea Sprout Growing Model – Space-Saving, High-Yield, and Easy-to-Manage Vertical Gardening Solution
- Just Water – The Secret to Growing Plump, White Peanut Sprouts Right at Home: A Step-by-Step Guide for Beginners
- Growing Zucchini at Home in a Container: How to Cultivate Large, Long Fruits with a 1-to-72 Day Step-by-Step Diary for Maximum Yield
- Grow Long Beans on the Terrace in Used Recycling Baskets: The Ultimate Guide to Easy, Space-Saving, and High-Yield Terrace Gardening
- How to Grow Tons of Long Beans Easily Without a Garden – A Complete Guide to Growing Healthy Yardlong Beans Without Fertilizers or Pesticides
- Easy Long Bean Growing Trick – No Garden, No Fertilizer, No Pesticide
- Grow Bitter Melon in Bottles — Harvest So Big You Can’t Eat It All! The Ultimate Guide to Bottle Gardening for Maximum Yields
- Growing Garlic Made Easy: No Soil, Fast Results – The Ultimate Guide to Growing Fresh Garlic Indoors Without Traditional Soil
- Wall-Mounted Hydroponic Watermelon System: Grow Large, Juicy, and Delicious Watermelons at Home with Minimal Space and Maximum Yield
Common Types of Chillies
- Bell Peppers: Mild and sweet; ideal for salads and cooking.
- Jalapeños: Medium heat; perfect for salsas and grilling.
- Serrano Peppers: Hotter than jalapeños; used in sauces and dishes.
- Cayenne Peppers: Very hot; great for adding spice to meals.
- Habaneros: One of the hottest chillies; ideal for spicy sauces.
2. Choosing the Right Chillies
When beginning your chilli growing journey, selecting the right variety is crucial. Here are some factors to consider:
Climate
Chillies thrive in warm, sunny conditions. Choose a variety that is well-suited to your local climate. Most chillies prefer temperatures between 70°F and 85°F (21°C – 29°C).

Heat Level
Consider your taste preferences. Start with milder varieties, like jalapeños or serranos, and work your way up to hotter options as you become more confident.
3. Essential Supplies
Before getting started, gather the following supplies:
- Seeds or Seedlings: Purchase from a reputable source, or save seeds from mature chillies.
- Pots: Choose containers with drainage holes.
- Potting Mix: Use a light, well-draining mix. You can also create a mix of peat moss, perlite, and compost.
- Watering Can: For consistent moisture.
- Fertilizer: A balanced fertilizer will nourish your plants.
- Grow Lights (optional): Ideal for indoor growing or cloudy climates.
4. Planting Your Chillies
Seed Starting
- Timing: Begin indoors 8-10 weeks before your last frost date. Chillies need warmth to germinate.
- Planting Seeds: Fill your pots with potting mix, water it lightly, and plant seeds about 1/4 inch deep.
- Light and Heat: Place pots in a warm, sunny location or under grow lights. Maintain a temperature around 70°F to 80°F (21°C – 27°C).
- Moisture: Keep the soil consistently moist but not soggy. A humidity dome can help retain moisture.

Transplanting Seedlings
Once seedlings have two sets of true leaves (about 3-4 inches tall), they can be transplanted:
- Harden Off: Gradually acclimate your plants to outdoor conditions over a week, starting with a few hours in the shade.
- Garden Preparation: Choose a sunny location with well-drained soil—add compost for added nutrients.
- Transplanting: Dig holes larger than the root ball. Space plants approximately 18-24 inches apart, as they need room to grow.
5. Caring for Your Chillies
Once your chillies are planted, proper care is essential for healthy growth.
Watering
- Water the plants deeply once a week, adjusting frequency based on rainfall and temperature. Keep the soil consistently moist but avoid waterlogging.
Fertilizing
- Fertilize every four to six weeks with a balanced fertilizer. As fruits begin to set, switch to a fertilizer higher in potassium to promote fruiting.

Support
- Taller varieties may require support. Use stakes or cages to help keep plants upright.
Pest Management
- Common Pests: Aphids, spider mites, and whiteflies. Introduce beneficial insects like ladybugs or use insecticidal soap.
- Diseases: Watch for signs of fungal diseases. Ensure good airflow around plants and avoid overhead watering.
Pruning
- Pinch off the first flowers and buds in the early stages to encourage bushier plants and more fruit production later.
6. Harvesting Chillies
Chillies can be harvested when they reach their full size and desired color. Here’s how to do it:
- Timing: Most chillies ripen 70 to 90 days after transplanting.
- Cutting: Use scissors or pruning shears to cut the chillies off the plant, leaving a small part of the stem attached.
- Storage: Store harvested chillies in the refrigerator crisper drawer for one to two weeks, or dry them for longer storage.

7. Preserving Your Chillies
Once you’ve harvested, consider how to preserve your chillies:
- Drying: Hang whole chillies in a dry area, or use a dehydrator.
- Freezing: Chop and freeze chillies in airtight bags.
- Making Sauces: Blend chillies with vinegar and spices for homemade hot sauce.
FAQs About Growing Chillies
1. How much sunlight do chillies need?
Chillies require full sun, ideally 6-8 hours of direct sunlight daily. Ensure they receive plenty of light, especially if growing indoors.
2. What should I do if my seedlings are leggy?
Leggy seedlings are usually a sign of insufficient light. Move them to a brighter location or adjust your grow lights to be closer to the plants.
3. How do I know when my chillies are ripe?
Ripe chillies will be firm to the touch and vibrant in color. Refer to the specific variety for its ideal color at maturity; for example, jalapeños are usually harvested when they are green, while habaneros turn orange or red when ripe.
4. Can I grow chillies in pots?

Yes! Chillies do well in containers; just ensure that the pot is at least 5 gallons in size to accommodate the root system.
5. Should I fertilize my chillies while they are fruiting?
Yes. Once flowers form and chillies start developing, switch to a fertilizer higher in potassium to encourage fruit growth.
6. What is the best method to control pests?
The best approach is integrated pest management: Maintain healthy plants, introduce beneficial insects, and apply organic pesticides like neem oil if infestations occur.
7. How can I tell if my chillies are too hot?
Taste a small piece of the chilli. The heat level will depend on the variety and growing conditions. Always use caution when tasting!
Conclusion
Growing chillies at home can be a gratifying experience filled with flavor and excitement. By following the steps outlined in this guide, you’ll be well on your way to a bountiful chilli harvest. Remember to experiment with various types and techniques to find what works best for you. Enjoy the process, and soon you’ll have your homegrown chillies to spice things up in the kitchen! Happy gardening!