Gardening enthusiasts often face the challenge of limited space, especially in urban environments. However, that doesn’t mean one has to give up on the joy of cultivating plants. Plants like the Thai mulberry (Morus alba), also known as the white mulberry, are perfect for small spaces and can thrive in pots. This guide outlines everything you need to know about growing Thai mulberries in containers, including tips on care, propagation, and common issues.
Understanding Thai Mulberry
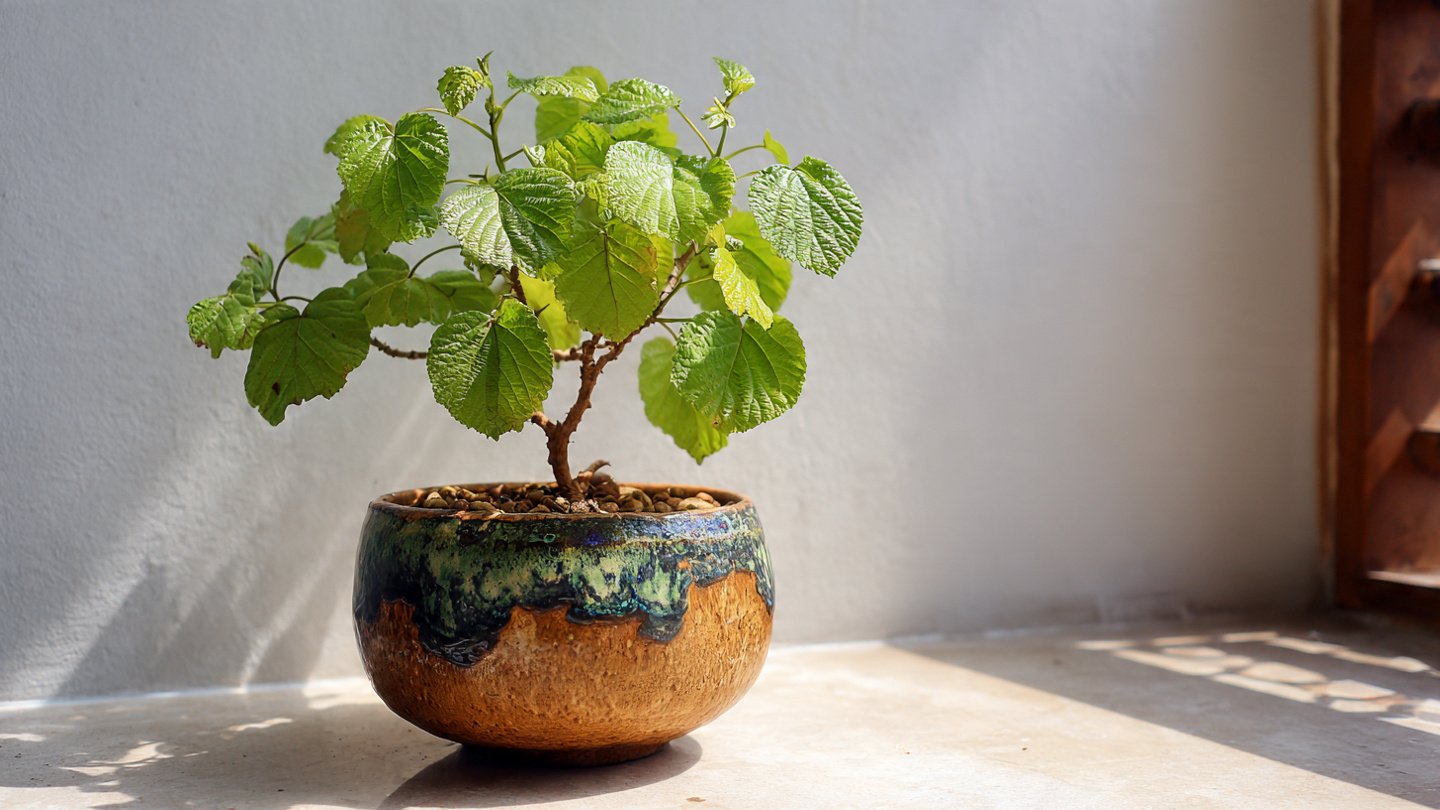
The Thai mulberry is a fast-growing, deciduous tree known for its sweet, nutritious fruit, which is often used in jams, jellies, and smoothies. Its foliage can also be used as fodder for silkworms, making it an excellent plant for those exploring sustainable gardening. Thai mulberry thrives in warm climates but can adapt surprisingly well to various growing conditions, making it versatile for pots.
Latest Posts
- With Just 1 Bottle of Water How I Was Shocked by What Happened When Growing Vegetables
- Maximize Your Home Garden with the Hanging Pea Sprout Growing Model – Space-Saving, High-Yield, and Easy-to-Manage Vertical Gardening Solution
- Just Water – The Secret to Growing Plump, White Peanut Sprouts Right at Home: A Step-by-Step Guide for Beginners
- Growing Zucchini at Home in a Container: How to Cultivate Large, Long Fruits with a 1-to-72 Day Step-by-Step Diary for Maximum Yield
- Grow Long Beans on the Terrace in Used Recycling Baskets: The Ultimate Guide to Easy, Space-Saving, and High-Yield Terrace Gardening
- How to Grow Tons of Long Beans Easily Without a Garden – A Complete Guide to Growing Healthy Yardlong Beans Without Fertilizers or Pesticides
- Easy Long Bean Growing Trick – No Garden, No Fertilizer, No Pesticide
- Grow Bitter Melon in Bottles — Harvest So Big You Can’t Eat It All! The Ultimate Guide to Bottle Gardening for Maximum Yields
- Growing Garlic Made Easy: No Soil, Fast Results – The Ultimate Guide to Growing Fresh Garlic Indoors Without Traditional Soil
- Wall-Mounted Hydroponic Watermelon System: Grow Large, Juicy, and Delicious Watermelons at Home with Minimal Space and Maximum Yield
Why Grow Thai Mulberry in Pots?
- Space Efficiency: Pot cultivation allows you to utilize balconies, patios, or small backyard spaces.
- Mobility: Potted plants can be moved to capture optimal sunlight or shelter from harsh weather.
- Controlled Environment: Growing in pots allows better control over soil quality, water retention, and drainage.
Choosing the Right Container
Selecting the appropriate pot is crucial for the health of your Thai mulberry:
- Size: Aim for a container that is at least 12-18 inches deep and wide. This space provides enough room for root development.
- Material: Terracotta, ceramic, or plastic can be used. Make sure the material allows for good drainage.
- Drainage: Ensure the pot has drainage holes. Good drainage prevents root rot, which is a common issue for potted plants.

Soil Requirements
Thai mulberries prefer well-draining soil that is rich in organic matter:
- Mixing Soil: Combine potting soil with compost and perlite or sand to enhance drainage and nutrient content.
- pH Level: Aim for a slightly acidic to neutral pH, ideally around 6.0 to 7.0.
Planting Thai Mulberry
Once you have your container and soil ready, you can proceed to plant your Thai mulberry.
Growing from Seeds
If you’re starting from seeds, here are the steps:
- Seed Selection: Obtain seeds from a reputable source. Soak the seeds in water for 24 hours prior to planting to enhance germination.
- Sowing Seeds: Plant the seeds about half an inch deep in the prepared soil.
- Watering: Keep the soil consistently moist but not waterlogged. Use a spray bottle for gentle watering.

Planting Saplings
If you prefer starting with a sapling, follow these steps:
- Choosing a Sapling: Look for healthy saplings from local nurseries.
- Transplanting: Carefully remove the sapling from its nursery pot and place it in your container, ensuring that the root ball is level with the soil surface.
- Watering: Water thoroughly after planting to settle the soil around the roots.
Care and Maintenance
Once your Thai mulberry is planted, there are a few essential care practices:
Watering
- Frequency: Water your plant deeply about once a week, or more frequently during hot weather.
- Signs of Watering Needs: The leaves may droop or turn yellow when the plant is thirsty.

Fertilization
- Type of Fertilizer: Use a balanced fertilizer every 4-6 weeks during the growing season (spring through summer).
- Organic Options: Compost tea or fish emulsion are excellent organic alternatives.
Pruning
- Optimal Pruning Time: Early spring is the best time to prune Thai mulberries.
- How to Prune: Remove dead or overlapping branches to promote airflow and growth. Aim to maintain a bushy form that’s easy to access for harvesting.
Light Requirements
Thai mulberries thrive in full sunlight:
- Sunlight: Place your pot where it can receive at least 6-8 hours of direct sunlight each day.
- Adjusting Position: If you notice your plant stretching towards the light, consider moving it to a sunnier location.
Pests and Diseases
Potted plants can be susceptible to various pests and diseases. Keeping a watchful eye can help:

Common Pests
- Spider Mites and Aphids: Regularly inspect for signs of these pests. Use insecticidal soap or neem oil for treatment.
- Slugs and Snails: Use diatomaceous earth around the base of the pot to deter these pests.
Diseases
- Root Rot: Overwatering can lead to root rot. Ensure good drainage and only water when necessary.
- Fungal Infections: Fungal diseases can be managed with a suitable fungicide or by increasing airflow around the plant.
Harvesting Thai Mulberries
Thai mulberry trees will typically start bearing fruit within 3-5 years. When the berries turn dark purple or black, they are ripe for picking:
- Gentle Harvesting: Use your fingers to pluck the berries gently to avoid damaging the plant.
- Storage: Fresh mulberries are best consumed immediately but can be refrigerated for a few days.
Conclusion

Growing Thai mulberries in pots is an excellent way to enjoy fresh fruit without needing a traditional garden space. By following the guidelines outlined in this guide, you can cultivate this versatile plant successfully. Whether you’re a seasoned gardener or a beginner, Thai mulberry can thrive with the right care in a small space.
FAQs
1. Can I grow Thai mulberry indoors?
Yes, Thai mulberries can be grown indoors, provided they receive sufficient sunlight (at least 6-8 hours daily) and are placed in a well-drained pot.
2. How often should I fertilize my Thai mulberry?
Fertilize your plant every 4-6 weeks during the growing season, using a balanced fertilizer or organic alternatives.
3. What is the best time to repot a Thai mulberry?
Repotting is best done in early spring before the growing season starts, especially if you notice roots growing out of the drainage holes.
4. Why are the leaves turning yellow?
Yellow leaves can indicate overwatering, nutrient deficiencies, or insufficient light. Assess your plant’s conditions to identify the cause.
5. Can I propagate Thai mulberry from cuttings?
Yes, you can propagate Thai mulberry from semi-hardwood cuttings. Take a healthy cutting, allow it to callous, and then plant it in moist soil.
By following these guidelines, you can successfully cultivate Thai mulberries in pots, bringing a taste of tropical fruit to your small garden space. Happy gardening!