Aloe Vera is more than just a beautiful succulent; it’s a powerhouse of health benefits, beauty applications, and even household uses. If you’re looking to add some greenery to your home or harness the medicinal properties of this well-known plant, growing Aloe Vera from cut leaves is a simple and effective method. This guide will walk you through everything you need to know, from the basics of Aloe Vera care to step-by-step instructions on how to propagate it from cut leaves.
Why Grow Aloe Vera?
Before diving into the how-tos, let’s explore why you might want to grow Aloe Vera:
- Health Benefits: Aloe Vera is renowned for its soothing properties, especially for burns, cuts, and skin irritations. Its gel contains vitamins, minerals, and amino acids that promote skin health.
- Air Purification: Like many succulents, Aloe Vera helps clean the air by removing toxins.
- Low Maintenance: Aloe Vera is an ideal plant for beginners. It requires minimal watering and can thrive in various environments.
- Versatile Use: The leaves can be used in smoothies, skin care products, and even for digestive benefits.
Understanding Aloe Vera Cuttings
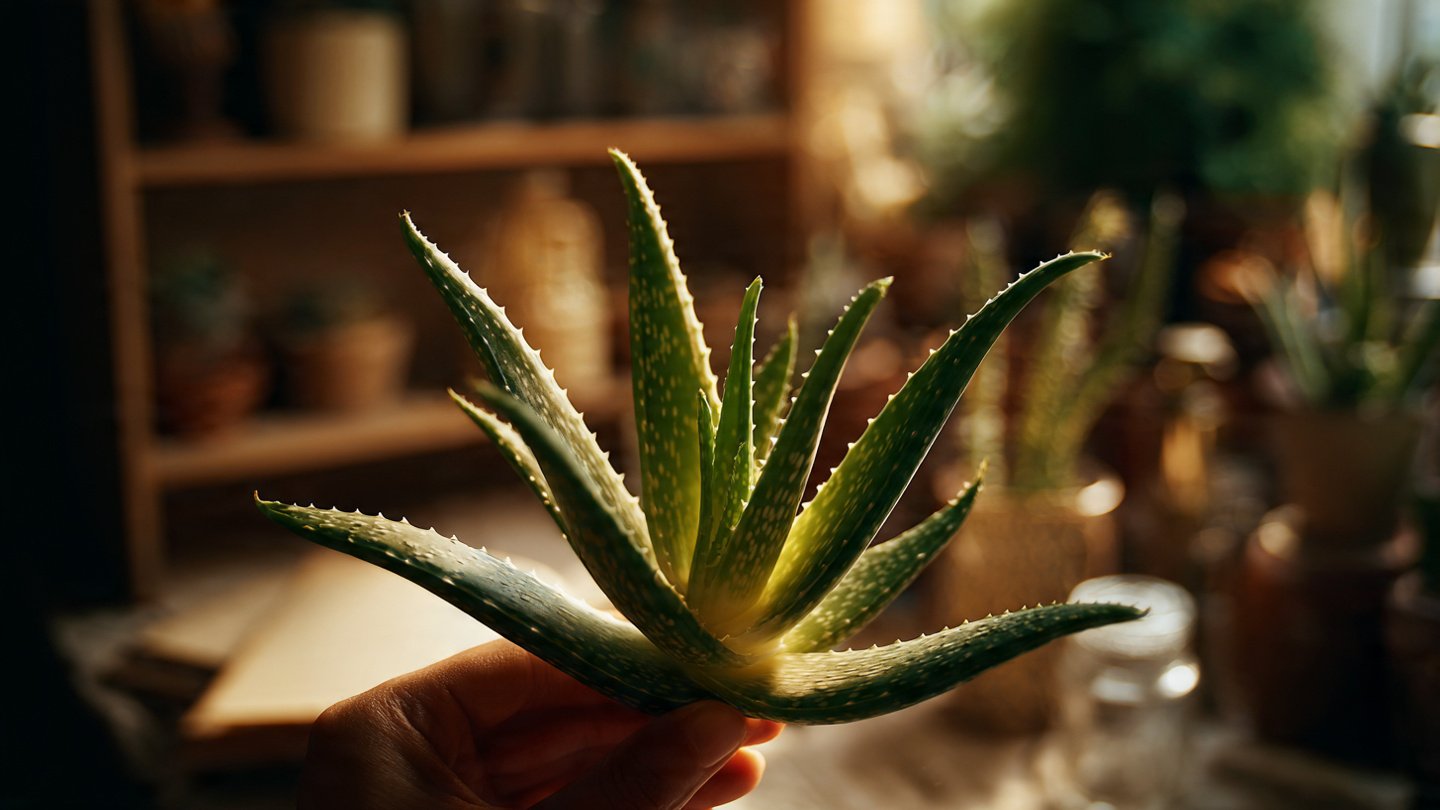
Propagating Aloe Vera from cut leaves is a straightforward process, but success depends on the understanding of plant anatomy. The leaves of Aloe Vera are thick and fleshy, filled with a gel-like substance. To propagate from cut leaves effectively, follow these points:
- Leaf Structure: Each leaf contains the potential to grow into a new plant, but you’ll need to use a healthy, mature leaf.
- Root Formation: Unlike some other plants, Aloe Vera doesn’t regenerate roots from leaves directly. Instead, offsets or pups are usually formed. Using a whole leaf will require a bit more care.
Materials Needed
Before you begin, gather the following materials:
- Healthy Aloe Vera plant
- Sharp, clean knife or scissors
- A clean, empty pot with drainage holes
- Fresh potting soil (preferably cactus mix)
- Water
- A clear plastic bag or a small dome (optional)
Step-by-Step Guide to Growing Aloe Vera from Cut Leaves
Step 1: Selecting the Right Leaf
Choose a healthy, mature leaf from the Aloe Vera plant. Look for a thick, fleshy leaf that is free from signs of disease or damage. It’s best to select a leaf from the outermost rosette, as these tend to be older and may have more developed nodes.
Latest Posts
- With Just 1 Bottle of Water How I Was Shocked by What Happened When Growing Vegetables
- Maximize Your Home Garden with the Hanging Pea Sprout Growing Model – Space-Saving, High-Yield, and Easy-to-Manage Vertical Gardening Solution
- Just Water – The Secret to Growing Plump, White Peanut Sprouts Right at Home: A Step-by-Step Guide for Beginners
- Growing Zucchini at Home in a Container: How to Cultivate Large, Long Fruits with a 1-to-72 Day Step-by-Step Diary for Maximum Yield
- Grow Long Beans on the Terrace in Used Recycling Baskets: The Ultimate Guide to Easy, Space-Saving, and High-Yield Terrace Gardening
- How to Grow Tons of Long Beans Easily Without a Garden – A Complete Guide to Growing Healthy Yardlong Beans Without Fertilizers or Pesticides
- Easy Long Bean Growing Trick – No Garden, No Fertilizer, No Pesticide
- Grow Bitter Melon in Bottles — Harvest So Big You Can’t Eat It All! The Ultimate Guide to Bottle Gardening for Maximum Yields
- Growing Garlic Made Easy: No Soil, Fast Results – The Ultimate Guide to Growing Fresh Garlic Indoors Without Traditional Soil
- Wall-Mounted Hydroponic Watermelon System: Grow Large, Juicy, and Delicious Watermelons at Home with Minimal Space and Maximum Yield

Step 2: Cutting the Leaf
Using the sharp knife or scissors, cut the chosen leaf close to the base of the plant. It’s recommended to cut at an angle to create a larger surface area for drying. Make sure to avoid cutting into the plant itself to prevent any damage that could hinder its growth.
Step 3: Allowing the Cut to Heal
After cutting, place the leaf in a warm, dry location, away from direct sunlight. Allow the cut end to dry and callus over for about a week. This is a crucial step; letting the cut heal will help prevent rot once it’s planted.
Step 4: Preparing the Pot and Soil
While the leaf is healing, prepare the pot. Use a pot with drainage holes to prevent water retention. Fill it with a well-draining potting mix, such as a cactus potting soil, which ensures that excess moisture can escape.
Step 5: Planting the Leaf
Once the cut has healed, place the leaf vertically in the soil, burying it about an inch deep. Ensure it’s stable and upright. If you used a cut tip, the leaf might need some additional support.
Step 6: Watering
After planting, lightly water the soil to initiate the rooting process. Avoid overwatering; Aloe Vera prefers to dry out between waterings. Generally, misting the soil lightly once every week or every two weeks should suffice.

Step 7: Creating a Humid Environment
To encourage root development, you can cover the pot with a clear plastic bag or place it in a small dome. This raises humidity levels around the plant, helping it to establish roots more effectively. Remember to ventilate occasionally to prevent mold growth.
Step 8: Providing Adequate Light
Place the pot in bright, indirect sunlight. Direct sunlight can be too harsh for the newly planted leaf and could scorch it. A south- or east-facing window often provides the ideal light conditions.
Step 9: Waiting for Roots to Develop
Patience is key! Depending on the conditions, it could take anywhere from a few weeks to a couple of months for roots to develop. After about 3-4 weeks, gently tug on the leaf. If you feel resistance, the roots may have started to establish.
Step 10: Transplanting (If Needed)
Once sturdy roots have developed, you can consider transplanting if they grow too large for their current pot. Ensure you use a well-draining soil mix and follow the same procedures as before.
Caring for Your New Aloe Vera Plant
Once your Aloe Vera has established itself, caring for it becomes straightforward:

Watering
Only water the plant when the soil is completely dry, usually every 2-3 weeks in warmer months and less in the winter.
Fertilization
Aloe Vera doesn’t need much fertilizer. You can apply a diluted liquid cactus fertilizer during the growing season (spring and summer) every 4-6 weeks.
Light Conditions
Ensuring bright, indirect sunlight will keep your Aloe Vera thriving. If the tips start to brown, it might be a sign of too much direct sunlight.
Pruning
Occasional removal of dead or damaged leaves can help the plant retain energy and maintain its aesthetic appeal.
FAQs
1. Can I grow Aloe Vera from any part of the leaf?
No, Aloe Vera typically does not regenerate from cut leaf sections. It’s best to use whole leaves or offsets (pups) for propagation.

2. How long does it take to grow a new Aloe Vera plant?
It can take anywhere from a few weeks to a couple of months for the leaf cutting to develop roots.
3. What should I do if I see mold on the soil?
Remove the moldy layer, let the soil dry out more thoroughly, and ensure that the pot has good drainage. Overwatering is usually the cause of mold growth.
4. How often should I water Aloe Vera?
Water your Aloe Vera when the top inch of soil feels dry. In general, this is every 2-3 weeks, though it may vary based on your climate.
5. Can I grow Aloe Vera outdoors?
Yes, if you live in a warm climate (USDA zones 9-11), Aloe Vera can thrive outdoors. Ensure it is in a well-draining soil and is protected from frost.
6. Can Aloe Vera survive indoors?
Absolutely! Aloes can easily thrive indoors, provided they receive sufficient light and are not overwatered.

7. How can I tell if my Aloe Vera plant is unhealthy?
Signs of an unhealthy Aloe Vera plant include yellowing leaves, mushy texture, or browning leaf tips. Adjust watering and light conditions as necessary.
8. Can I use the gel from an Aloe leaf immediately after cutting?
Yes, the gel can be used freshly cut. However, for storage purposes, ensure it’s kept in the refrigerator.
Conclusion
Growing Aloe Vera from cut leaves is an accessible and fulfilling process. With minimal care, you can cultivate this resilient plant and enjoy its numerous benefits. Whether you’re an experienced gardener or a beginner, Aloe Vera can thrive in your home, adding beauty and utility to your space. Happy gardening!