Oregano is a versatile and aromatic herb that is a staple in kitchens around the world. It’s not only valued for its culinary uses but also for its medicinal properties. Whether you’re a seasoned gardener or just starting out, growing oregano from cuttings can be a rewarding experience. This guide will walk you through the process step by step, ensuring you have all the information you need to succeed.
Why Choose Oregano?
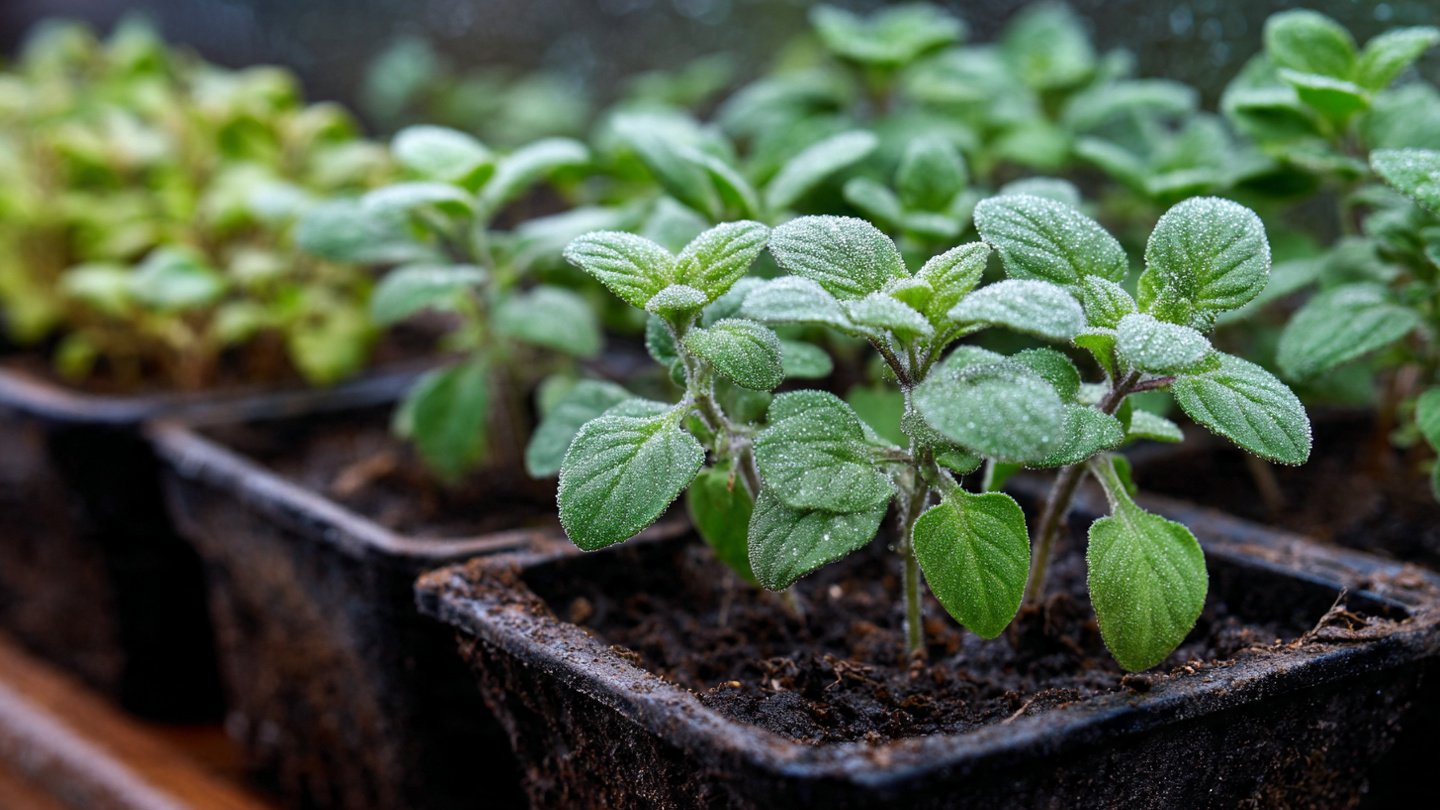
Oregano (Origanum vulgare) is a hardy perennial herb that’s easy to grow and maintain. It thrives in a variety of climates and can be cultivated both indoors and outdoors. Some benefits of growing oregano include:

- Culinary Use: Fresh oregano adds flavor to various dishes, particularly Italian, Greek, and Mediterranean cuisine.
- Health Benefits: Oregano is rich in antioxidants and has antimicrobial properties.
- Low Maintenance: Once established, oregano requires little care aside from regular pruning.
Step 1: Gather Your Materials
Before diving into the growing process, ensure you have the following materials:
- Healthy Oregano Plant: Choose a robust plant from which you can take cuttings.
- Sharp Scissors or Pruning Shears: For clean cuts.
- Small Pots with Drainage Holes: To plant your cuttings.
- Potting Mix: A well-draining potting soil mix.
- Watering Can or Spray Bottle: For watering your cuttings.
- Plastic Bag or Cling Film: To create humidity around the cuttings.
- Rooting Hormone (optional): To encourage root growth.
Step 2: Taking Cuttings
- Select the Cuttings: Look for healthy stems that are free from disease or pests. It’s best to choose cuttings that are 4-6 inches long and come from the tips of the stems.
- Make Your Cut: Using your sharp scissors, cut just below a leaf node (the point where leaves attach to the stem). This helps promote root growth.
- Remove Lower Leaves: Strip off any leaves from the lower half of the cutting, leaving a few at the top. This reduces water loss and allows the cutting to focus its energy on root development.
- Optional – Apply Rooting Hormone: Dip the end of the cutting into rooting hormone, which can stimulate root growth and increase the chances of success.
Step 3: Preparing the Pots
- Fill with Potting Mix: Use a high-quality potting mix to fill your small pots. Ensure it’s damp but not soggy.
- Make Holes for Cuttings: Use your finger or a pencil to create small holes in the potting mix, spaced apart to allow for growth.
- Insert the Cuttings: Place each cutting in its hole, making sure the stripped part is buried in the soil. Firm the soil around the base to secure the cutting.
Step 4: Caring for the Cuttings
- Watering: After planting, gently water the cuttings to settle the soil around them. Keep the soil moist but never waterlogged.
- Creating Humidity: To maintain humidity for the cuttings, cover the pots with a plastic bag or cling film. This creates a mini-greenhouse effect. Be sure to open the bag daily for a few minutes to prevent mold growth and allow for air circulation.
- Light Requirements: Place the pots in a warm location with indirect sunlight. Too much direct sunlight can cause stress to the cuttings before they root.
Step 5: Monitoring Growth
- Check for Roots: After about 2-4 weeks, check for root development by gently tugging on the cuttings. There should be some resistance if roots have formed.
- Removing the Cover: Once the cuttings show signs of rooting, gradually remove the plastic cover over the course of a week. This helps acclimatize them to normal humidity levels.
- Transplanting: After 4-6 weeks, once the cuttings have developed a strong root system, they can be transplanted into larger pots or directly into your garden.
Step 6: Caring for Your New Oregano Plants
- Watering: Continue to keep the soil moist but not overly wet. Generally, oregano prefers to dry out a bit between waterings.
- Sunlight: Ensure your oregano plants receive at least 6 hours of direct sunlight each day. If growing indoors, a south or west-facing window is ideal.
- Fertilizing: Oregano doesn’t require heavy feeding. You can use a diluted liquid fertilizer every 4-6 weeks during the growing season.
- Pruning: To encourage bushier growth and prevent your oregano from becoming leggy, pinch back the tips of the stems regularly. This promotes more branching and leaves.
Step 7: Harvesting Your Oregano
Harvest oregano once the plants have grown enough foliage, typically in the early summer. Here’s how to do it:

- Timing: The best time to harvest is just before the plant flowers, as this is when the flavor is at its peak.
- Cutting: Use clean scissors or shears to cut stems, ideally taking only one-third of the plant at a time. This allows the plant to continue growing.
- Storage: Fresh oregano can be used immediately or stored in the fridge for a few days. For longer storage, consider drying or freezing the leaves.
Common Challenges
- Leggy Growth: This can result from insufficient light. Move plants to a brighter location.
- Wilting or Yellow Leaves: This could indicate overwatering or poor drainage. Reduce watering frequency and ensure proper drainage.
- Pests: Oregano is generally pest-resistant but can occasionally fall victim to aphids or spider mites. Inspect regularly and treat with insecticidal soap if needed.
FAQ Section
Q1: Can I grow oregano in water?
Yes, oregano cuttings can root in water. Simply place the cuttings in a jar of water and wait for roots to grow. Once they’re a few inches long, transfer them to soil.
Latest Posts
- With Just 1 Bottle of Water How I Was Shocked by What Happened When Growing Vegetables
- Maximize Your Home Garden with the Hanging Pea Sprout Growing Model – Space-Saving, High-Yield, and Easy-to-Manage Vertical Gardening Solution
- Just Water – The Secret to Growing Plump, White Peanut Sprouts Right at Home: A Step-by-Step Guide for Beginners
- Growing Zucchini at Home in a Container: How to Cultivate Large, Long Fruits with a 1-to-72 Day Step-by-Step Diary for Maximum Yield
- Grow Long Beans on the Terrace in Used Recycling Baskets: The Ultimate Guide to Easy, Space-Saving, and High-Yield Terrace Gardening
- How to Grow Tons of Long Beans Easily Without a Garden – A Complete Guide to Growing Healthy Yardlong Beans Without Fertilizers or Pesticides
- Easy Long Bean Growing Trick – No Garden, No Fertilizer, No Pesticide
- Grow Bitter Melon in Bottles — Harvest So Big You Can’t Eat It All! The Ultimate Guide to Bottle Gardening for Maximum Yields
- Growing Garlic Made Easy: No Soil, Fast Results – The Ultimate Guide to Growing Fresh Garlic Indoors Without Traditional Soil
- Wall-Mounted Hydroponic Watermelon System: Grow Large, Juicy, and Delicious Watermelons at Home with Minimal Space and Maximum Yield
Q2: How long does it take for oregano cuttings to root?
Typically, oregano cuttings take around 2-4 weeks to develop roots under ideal conditions.

Q3: Can I grow oregano indoors?
Absolutely! Oregano can be grown indoors, provided it receives enough light. A sunny windowsill or grow lights can help.
Q4: Should I trim my oregano plant?
Regular trimming helps promote bushier growth. You can pinch back the tips of the stems whenever the plant is growing actively.

Q5: How do I dry oregano?
To dry oregano, bundle stems and hang them upside down in a warm, dark place with good air circulation. Alternatively, you can use a dehydrator or an oven at low temperature.
Q6: How do I troubleshoot yellowing leaves?
Yellowing leaves can indicate overwatering or nutrient deficiencies. Check your watering routine and consider adding a balanced fertilizer.

Growing oregano from cuttings is a simple and gratifying process that can provide you with an abundant supply of fresh herbs. With a little patience and care, you’ll enjoy homegrown oregano in your dishes and reap the benefits of this wonderful herb! Whether for culinary use or to enhance your garden, oregano is a worthy addition that brings flavor and fragrance to your life.