Microgreens are becoming a favorite among home cooks and health enthusiasts alike. They are tiny, flavorful greens packed with nutrients, and can be grown easily indoors. If you’re looking to add some fresh greens to your meals, here’s a simple guide to growing microgreens in your kitchen.
What Are Microgreens?
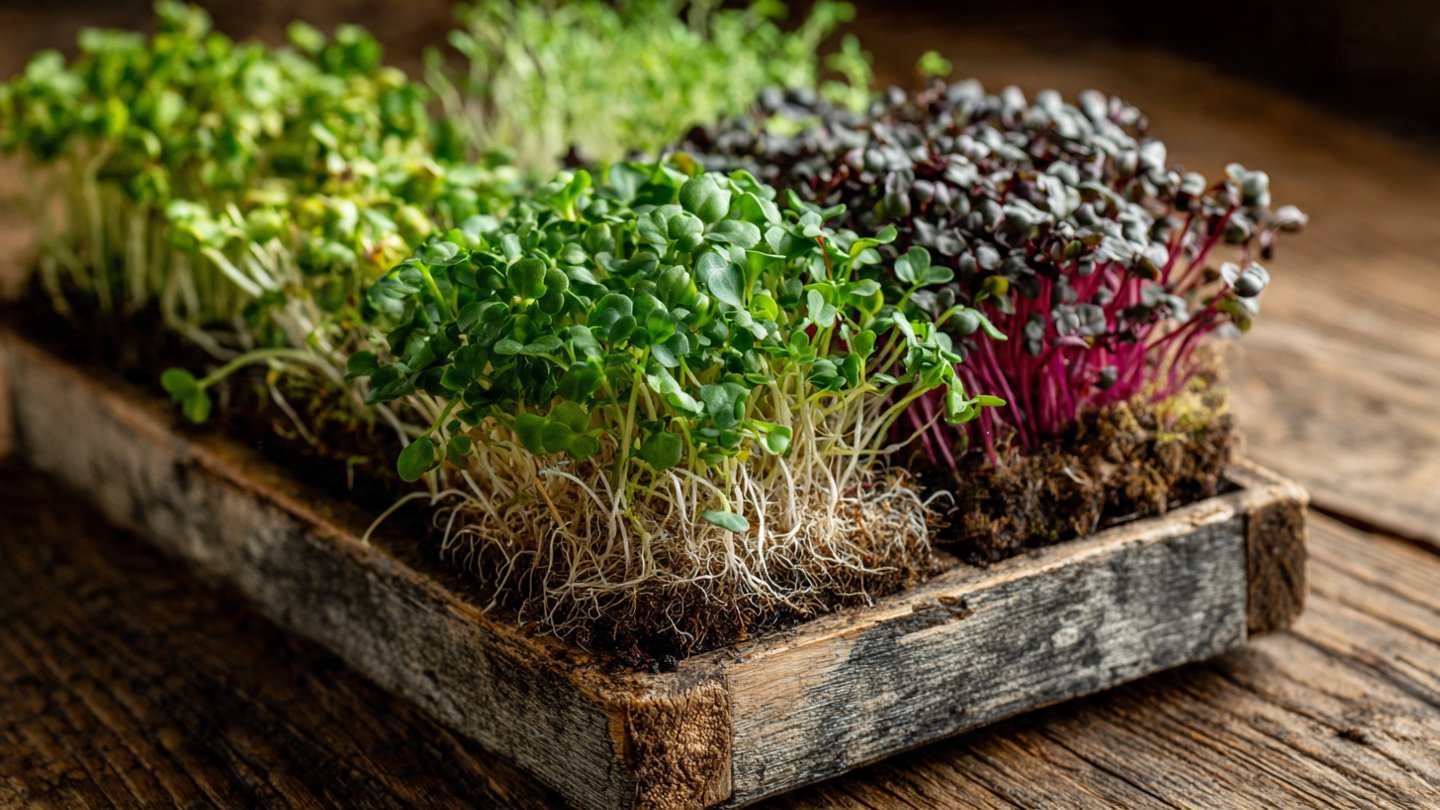
Microgreens are young seedlings of vegetables, herbs, and other plants that are harvested just after the first true leaves have developed. They are typically 1-3 inches tall and come in a variety of flavors ranging from spicy to sweet. Some popular microgreens include arugula, basil, radish, and broccoli.
Latest Posts
- With Just 1 Bottle of Water How I Was Shocked by What Happened When Growing Vegetables
- Maximize Your Home Garden with the Hanging Pea Sprout Growing Model – Space-Saving, High-Yield, and Easy-to-Manage Vertical Gardening Solution
- Just Water – The Secret to Growing Plump, White Peanut Sprouts Right at Home: A Step-by-Step Guide for Beginners
- Growing Zucchini at Home in a Container: How to Cultivate Large, Long Fruits with a 1-to-72 Day Step-by-Step Diary for Maximum Yield
- Grow Long Beans on the Terrace in Used Recycling Baskets: The Ultimate Guide to Easy, Space-Saving, and High-Yield Terrace Gardening
- How to Grow Tons of Long Beans Easily Without a Garden – A Complete Guide to Growing Healthy Yardlong Beans Without Fertilizers or Pesticides
- Easy Long Bean Growing Trick – No Garden, No Fertilizer, No Pesticide
- Grow Bitter Melon in Bottles — Harvest So Big You Can’t Eat It All! The Ultimate Guide to Bottle Gardening for Maximum Yields
- Growing Garlic Made Easy: No Soil, Fast Results – The Ultimate Guide to Growing Fresh Garlic Indoors Without Traditional Soil
- Wall-Mounted Hydroponic Watermelon System: Grow Large, Juicy, and Delicious Watermelons at Home with Minimal Space and Maximum Yield
Why Grow Microgreens?
- Nutritional Boost: Microgreens are often more nutritious than their mature counterparts, containing higher concentrations of vitamins, minerals, and antioxidants.
- Space-Efficient: They require very little space, making them perfect for small kitchens or apartments.
- Quick Growth: Most microgreens can be harvested in as little as 7 to 21 days after planting.
- Flavor Enhancer: They add unique flavors and textures to salads, sandwiches, and other dishes.
- Cost-Effective: Growing your own microgreens can save you money compared to buying them from the store.
Steps to Grow Microgreens in Your Kitchen

Step 1: Gather Your Supplies
To start growing microgreens, you will need:
- Seeds: Choose seeds specifically labeled for microgreens. These can be found at garden centers or online. Popular choices include radish, beet, and peas.
- Growing Medium: Options include seed starting mix, coconut coir, or even paper towels.
- Containers: Shallow trays or biodegradable pots are ideal for growing microgreens.
- Watering Equipment: A spray bottle or watering can will work for keeping the soil moist.
- Light Source: While natural sunlight is great, you may want to consider grow lights if your kitchen lacks adequate light.
Step 2: Prepare Your Growing Space
Find a suitable location in your kitchen that receives plenty of sunlight or has space for grow lights. Ensure the area is clean to prevent the growth of mold or pests.
Step 3: Fill Your Containers
Fill your chosen containers with your growing medium, leaving about an inch of space at the top. Level the surface to create an even growing area. If using seed starting mix, lightly moisten it before adding the seeds.

Step 4: Sow the Seeds
Sprinkle your seeds evenly on the surface of the growing medium. It’s best to plant them fairly densely, as microgreens are usually harvested before they compete for space. Once sprinkled, lightly press the seeds into the medium with your hand or a flat surface.
Step 5: Water the Seeds
After sowing the seeds, gently mist or water the growing medium until it is evenly moist but not soaked. A spray bottle works well for this task, as it minimizes the risk of displacing the seeds.
Step 6: Create a Humid Environment
Cover the container with a clear lid or plastic wrap to create a mini greenhouse effect, which helps maintain humidity. Remove this cover once the seeds sprout, which usually occurs within a few days.
Step 7: Provide Proper Light
Once your microgreens have sprouted, ensure they receive adequate light. Ideally, they should get 12-16 hours of light daily. If using natural sunlight, rotate the containers periodically for even growth. If using grow lights, place them a few inches above the microgreens and adjust as they grow.
Step 8: Watering and Care

Keep the growing medium consistently moist but not waterlogged. Check daily, and mist or water as needed. If the microgreens seem leggy, they might need more light.
Step 9: Harvesting
Microgreens are ready to harvest when they are about 1-3 inches tall and have developed their first true leaves, typically within 7-14 days. Use scissors to cut them just above the soil line. Rinse them gently to remove any soil and enjoy them fresh!
Step 10: Store or Use Immediately
Freshly harvested microgreens can be stored in the refrigerator in an airtight container for up to a week. They can be added to salads, sandwiches, smoothies, or used as a garnish for any dishes.
Tips for Success
- Experiment with different seed varieties to find the flavors you enjoy the most.
- Keep records of your growing experience to refine your process and become more successful over time.
- Maintain cleanliness throughout the process to avoid mold and pests.
- Consider staggered planting to have a continuous supply of microgreens.

FAQs
1. Can I reuse soil for growing microgreens?
While it’s possible to reuse soil, it’s not recommended due to potential disease and nutrient depletion. Fresh soil will give better results.
2. Can microgreens be grown without soil?
Yes, microgreens can be grown in hydroponic systems or even on paper towels, but soil is generally easier and more effective for beginners.
3. What are the best microgreens to start with?
Good beginner-friendly options include radish, pea shoots, and sunflower. These varieties are relatively easy to grow and have great flavors.
4. How can I ensure my microgreens are not bitter?

Ensuring they receive enough light and water will help prevent bitterness. Harvesting them at the right time (when the true leaves appear) also helps maintain a pleasant flavor.
5. Do I need special equipment to grow microgreens?
No special equipment is needed; basic supplies and containers you likely already have at home will suffice.
Conclusion
Growing microgreens in your kitchen is a straightforward and rewarding process. By following these easy steps, you can enjoy fresh, nutritious greens year-round. Whether you’re looking to enhance your culinary creations or boost your health, microgreens are a great addition to your kitchen gardening journey.