Gardening enthusiasts often seek ways to propagate plants effectively and efficiently, and one approach that stands out is the art of growing marigolds from cuttings. While marigolds are typically grown from seeds, taking cuttings can be a rewarding alternative that offers quick results and vibrant blooms. This article will delve into the secrets of successfully growing marigold flowers from cuttings, ensuring your garden thrives with color and beauty.
Why Choose Marigolds?
Before we dive into the specifics of propagation, let’s explore why marigolds are such a popular choice among gardeners:
Latest Posts
- With Just 1 Bottle of Water How I Was Shocked by What Happened When Growing Vegetables
- Maximize Your Home Garden with the Hanging Pea Sprout Growing Model – Space-Saving, High-Yield, and Easy-to-Manage Vertical Gardening Solution
- Just Water – The Secret to Growing Plump, White Peanut Sprouts Right at Home: A Step-by-Step Guide for Beginners
- Growing Zucchini at Home in a Container: How to Cultivate Large, Long Fruits with a 1-to-72 Day Step-by-Step Diary for Maximum Yield
- Grow Long Beans on the Terrace in Used Recycling Baskets: The Ultimate Guide to Easy, Space-Saving, and High-Yield Terrace Gardening
- How to Grow Tons of Long Beans Easily Without a Garden – A Complete Guide to Growing Healthy Yardlong Beans Without Fertilizers or Pesticides
- Easy Long Bean Growing Trick – No Garden, No Fertilizer, No Pesticide
- Grow Bitter Melon in Bottles — Harvest So Big You Can’t Eat It All! The Ultimate Guide to Bottle Gardening for Maximum Yields
- Growing Garlic Made Easy: No Soil, Fast Results – The Ultimate Guide to Growing Fresh Garlic Indoors Without Traditional Soil
- Wall-Mounted Hydroponic Watermelon System: Grow Large, Juicy, and Delicious Watermelons at Home with Minimal Space and Maximum Yield
-
Easy to Grow: Marigolds are hardy and can thrive in various conditions, making them suitable for both novice and experienced gardeners.
-
Pest Control: They are known to repel certain pests, including nematodes and aphids, aiding in plant health throughout your garden.
-
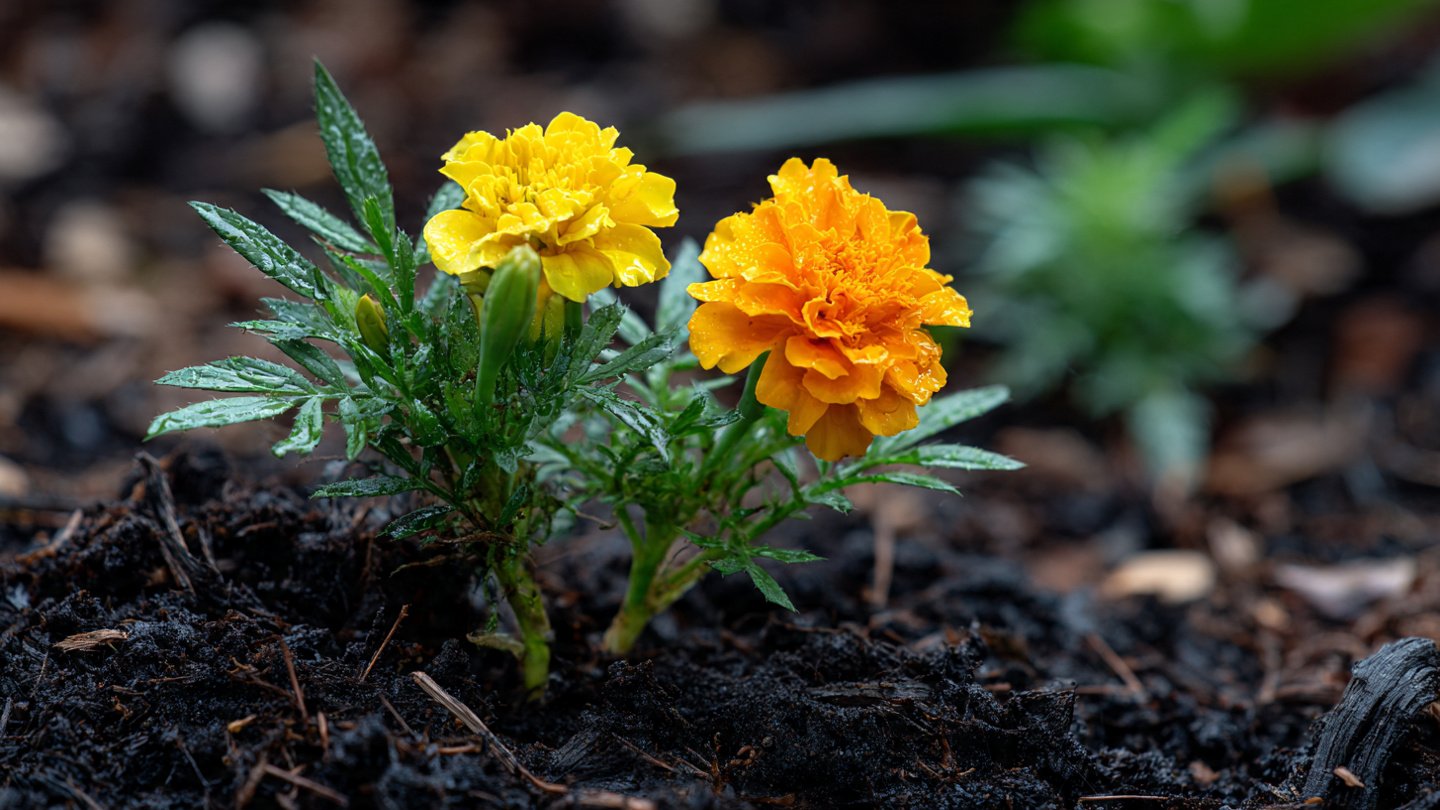
Vibrant Colors: Available in shades of yellow, orange, and red, marigolds add a splash of color to any garden setting.
-
Quick Blooms: Marigolds bloom relatively quickly, providing near-instant gratification for your gardening efforts.
-
Versatile Uses: They can be planted in borders, containers, or as companion plants, making them versatile additions to your garden.
The Basics of Marigold Propagation
Understanding Cuttings
Cuttings are pieces of a plant that are removed and encouraged to develop roots and grow into new plants. This method of propagation is preferred for its reliability and speed. Growing marigolds from cuttings can be a fun way to expand your garden without purchasing new plants each season.

Selecting Your Marigold Variety
There are several species of marigolds, but the two most common types are:
-
Tagetes erecta (African Marigolds): Known for their large, pom-pom-like blooms, African marigolds can reach heights of up to three feet.
-
Tagetes patula (French Marigolds): These are smaller plants, typically between six inches and twelve inches tall, with intricate, frilled blooms.
Choose a variety based on your garden’s aesthetic and the space available.
The Step-by-Step Process of Growing Marigolds from Cuttings
Step 1: Prepare Your Tools and Materials
Before you begin, gather the following:
- Sharp, clean scissors or pruning shears
- A clean pot or container with drainage holes
- Well-draining potting mix (a mix of soil, sand, and perlite is ideal)
- Water
- Rooting hormone (optional but recommended)
- Plastic bags or a propagator (to maintain humidity)

Step 2: Take the Cuttings
-
Choose Healthy Plants: Look for established marigold plants that display vibrant color and are free from pests or diseases.
-
Make the Cut: Using your scissors or shears, take a cutting about 4-6 inches long. Make sure to cut just below a leaf node, as this is where new roots will form.
-
Remove Lower Leaves: Carefully strip the leaves from the bottom half of the cutting to prevent them from rotting in the soil.
Step 3: Prepare the Cuttings
-
Apply Rooting Hormone: Although optional, dipping the cut end of your cutting in rooting hormone can promote root growth and speed up the process.
-
Plant the Cuttings: Insert the cut end into the potting mix, ensuring it’s planted deep enough to stand upright. Avoid overcrowding; give each cutting enough space to grow.
Step 4: Care for the Cuttings
-
Watering: After planting the cuttings, water them lightly. Ensure the soil is moist, but not soggy, as excessive water can lead to rot.
-
Humidity: Cover the pot with a plastic bag or place it in a propagator to create a humid environment. This helps prevent the cuttings from drying out. Ensure some airflow to avoid mold.
-
Light Conditions: Place the pot in a location with bright, indirect light. Too much direct sunlight can scorch the cuttings, while too little light can hinder growth.

Step 5: Monitor and Transplant
-
Check for Roots: After about two to three weeks, gently tug on the cuttings. If you feel resistance, they have likely developed roots.
-
Transplanting: Once the roots are sturdy, it’s time to transplant the new marigolds into individual pots or directly into your garden. If you choose to transplant them outside, make sure the risk of frost has passed.
-
Acclimatization: If starting indoors, gradually acclimate the seedlings to outdoor conditions by exposing them to sunlight and wind in increments. This process is known as “hardening off.”
Step 6: Care for Your New Marigolds
-
Watering: Continue to keep the soil consistently moist but not waterlogged, especially during the first few weeks after transplanting.
-
Fertilization: After about a month, you can start fertilizing your marigolds with a balanced, diluted fertilizer to encourage robust growth and blooming.
-
Pruning and Deadheading: Regularly deadhead spent blooms to encourage more flowering and prevent the plants from going to seed too early.
-
Pest Management: Keep an eye out for pests such as aphids and whiteflies. Natural treatments or insecticidal soap can help manage infestations.

FAQ Section
1. How long does it take for marigold cuttings to root?
Typically, it takes about 2-3 weeks for marigold cuttings to develop roots, depending on the environmental conditions.
2. Can I grow marigolds from cuttings in water?
While it’s possible to root marigold cuttings in water, this method is less reliable. Soil offers more nutrients and support for healthy root development.
3. Should I use rooting hormone?
Using rooting hormone can significantly improve your success rate by promoting faster root growth, though it’s not mandatory.
4. How do I know when my marigolds are ready to be transplanted?
When you feel resistance while gently tugging on the cuttings, they are generally ready to be transplanted. Roots should be healthy and well-formed.
5. What is the best time of year to take marigold cuttings?
The best time to take marigold cuttings is in late spring or early summer when the plants are actively growing.
6. Do marigolds need full sun?
Yes, marigolds thrive in full sun, requiring at least 6 hours of direct sunlight daily for optimal blooming.

7. Can I grow marigolds indoors from cuttings?
Yes, marigolds can be grown indoors, but they require bright light and good air circulation to thrive.
8. What pests are common in marigolds, and how can I control them?
Common pests include aphids and spider mites. You can control them with neem oil or insecticidal soap.
9. Are marigolds perennial or annual plants?
Most marigolds are annuals, meaning they complete their life cycle in one season. However, they often reseed themselves.
10. Can I fertilize my marigolds while they are still rooting?
It’s best to wait until your marigolds are fully rooted before applying fertilizer to avoid harming them.
Growing marigolds from cuttings is a rewarding endeavor that not only expands your garden but also deepens your connection to gardening. With proper care and attention, these vibrant flowers will flourish, adding charm and color to your outdoor space. Happy gardening!